Scrappy Christmas Tree Quilt Pattern: Turn Your Scraps Into a Tree
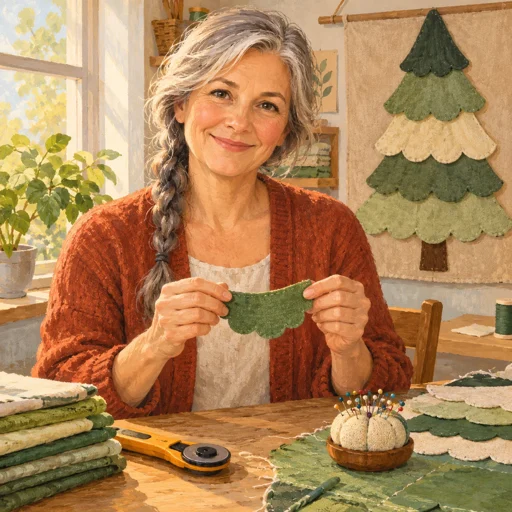
A scrappy Christmas tree is how quilters turn a drawer of leftovers into the thing everyone asks about. The trick is that a scrappy quilt only looks intentional if you control a few things: value, scale and one calm element. Do that, and you can use almost anything in your stash.
This guide shows how to sort, plan and cut a scrappy version of the layered tree wall hanging from Pine & Thimble, which finishes at 18 x 28 inches.
What "scrappy" means for a layered tree
The tree has eight scalloped tiers. In a classic version, you alternate a dark and a light fabric. In a scrappy version, each tier can be a different fabric, as long as you keep the alternation of dark and light. The trunk, star and poinsettia use small pieces, which is where scraps shine.
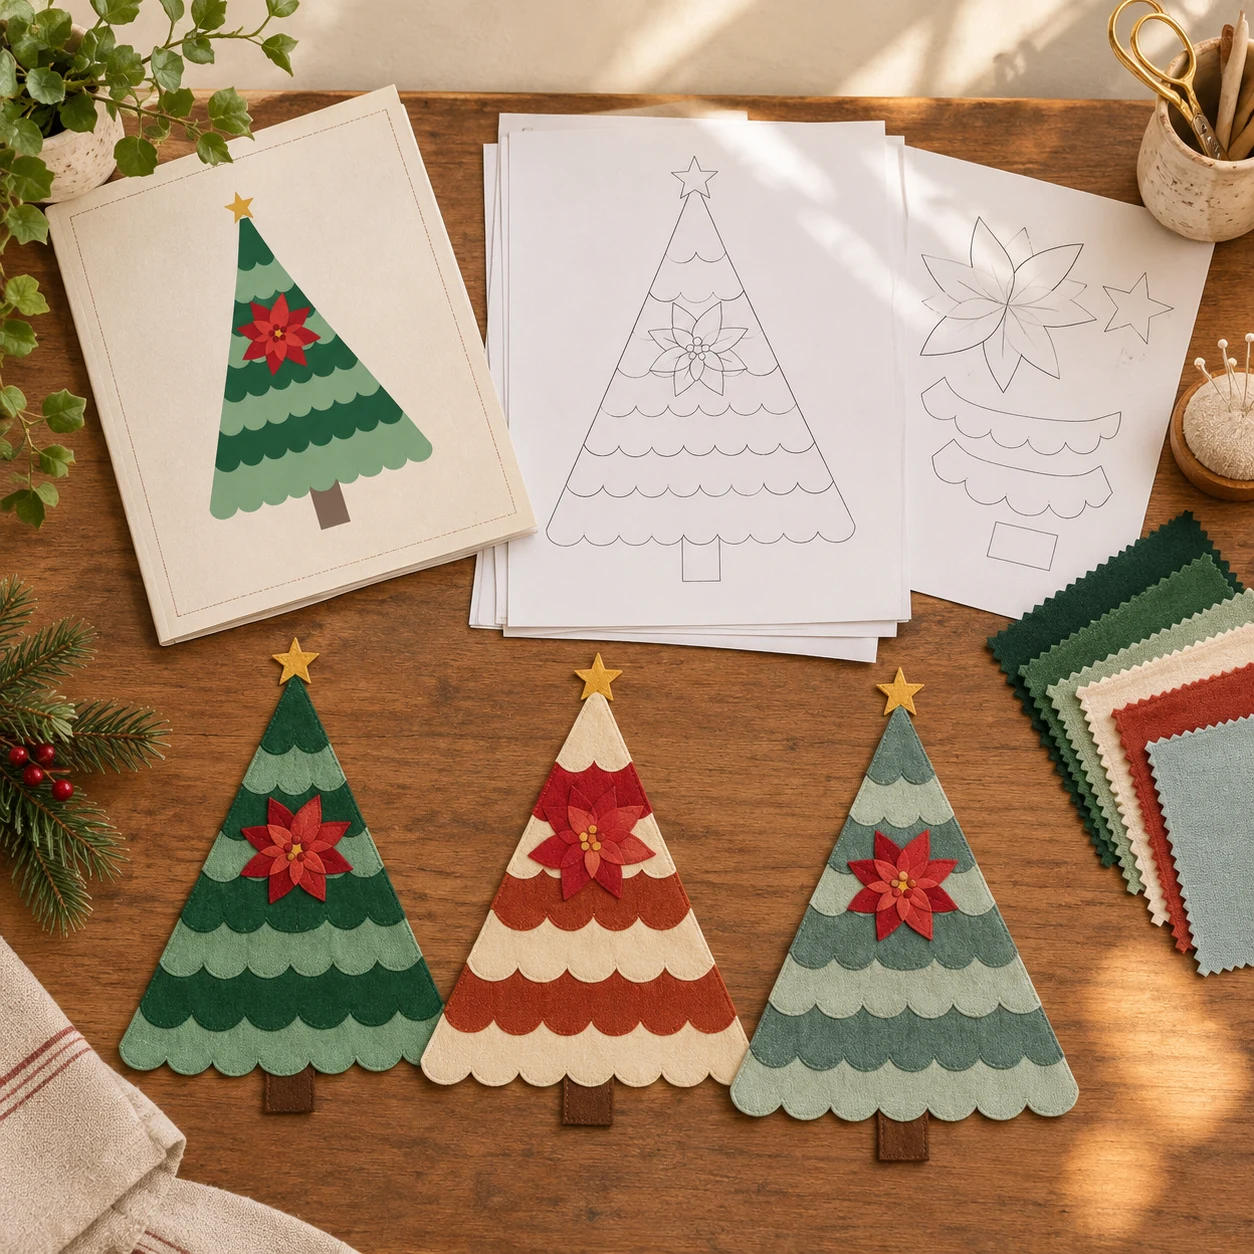
The Cream and Rust Scrappy colorway in the pattern shows the idea: olive and cream tiers, a dark chocolate trunk and a rust and terracotta flower.
Step 1: sort by usable shape
A basket of scraps is not the same as a basket of usable pieces. Press everything, check for holes and old seam lines, then sort:
- Wide and deep pieces for the tiers. A scalloped tier needs both width and depth; a long narrow strip will not do, even if the area looks generous.
- Medium pieces for leaves and petals.
- Small bits for the star, the berries and the flower center.
Print the templates (check the 1-inch control square) and lay them over your scraps. That ten-minute step prevents most surprises.
Step 2: split into dark and light
Take a photo of your tier candidates and turn it to black and white. Group them into two stacks: dark and light. Then place them in the eight tier positions, alternating, and step back. If two neighbors blur together in the grayscale photo, swap one.
This is the single most useful check. A scrappy tree with weak value contrast looks muddy; one with good contrast looks bold even with eight different prints.
Step 3: balance print scale
- Large prints work on the lower, wider tiers, where a motif can appear whole.
- Small prints work higher up, and they act almost like solids.
- Busy prints should be spread around the tree, not all on one side.
- Solids and tone-on-tone give the eye a place to rest.
If everything is busy, include at least two quiet fabrics and use them where tiers are visible side by side.
Step 4: reserve the flower fabrics first
The poinsettia has 26 pieces: six leaves, eight outer petals, six inner petals, a center and five berries. Choose its fabrics before you use the last good scrap for a tier.
- Outer petals and inner petals need a visible difference in value, one deeper, one brighter.
- Leaves need to stand out against the tier behind them. Green on green may need a lighter or darker leaf.
- The center and star can share one gold or cream accent.
A coherent group of reds looks lovely on a varied tree. Random reds do not.
Step 5: choose the calm element
One piece should be steady. Most quilters choose the binding. A dark green, brown or cream binding frames a busy arrangement and gives the eye an edge to follow. Reserve about 94 inches of 2.5-inch bias strips before you spend your last matching fabric on tiers.
How much do you need?
For a standard version the pattern calls for:
| Piece | Amount |
|---|---|
| Dark tiers | 1 fat quarter (18 x 21 in) |
| Light tiers | 1 fat quarter (18 x 21 in) |
| Trunk, star and center, leaves, deep red, bright red | A fat eighth or scrap each |
| Backing and batting | 22 x 32 in each |
| Binding | About 94 in of 2.5 in bias strips |
In a scrappy version, you replace the two fat quarters with up to eight different pieces. The amounts are calculated from the templates, so test the fit before assuming a scrap will do.
Step 6: stabilize the sewing plan
Choose raw-edge, turned-edge or fusible for all pieces before cutting. Test a questionable scrap through backing and batting, especially if it has a loose weave or is much thicker than the rest. A bulky overlap on a thick fabric can make a scallop pucker.
Build from the trunk and lowest tier upward. Keep the numbered order beside the machine so the fabric arrangement survives the move from table to sewing.
Keep a record
Make a quick sketch of the tree with a small swatch stapled to each tier. If you love how it came out, you can repeat it, or make a mini. If you did not, you know exactly what to change.
From scraps to something you are proud of
A scrappy tree is a good way to try the layered design if you are not sure about buying new fabric. The templates work the same, the sewing order is the same, and the finished look is yours alone. If you want a more controlled look, see comparing tree designs or blocks versus layered tiers. For a first-time guide, start with Christmas quilt patterns for beginners.
This is a personal-use digital pattern. Sewing materials are not included.