Christmas Quilt Patterns for Beginners: Start With a Tree You Can Finish
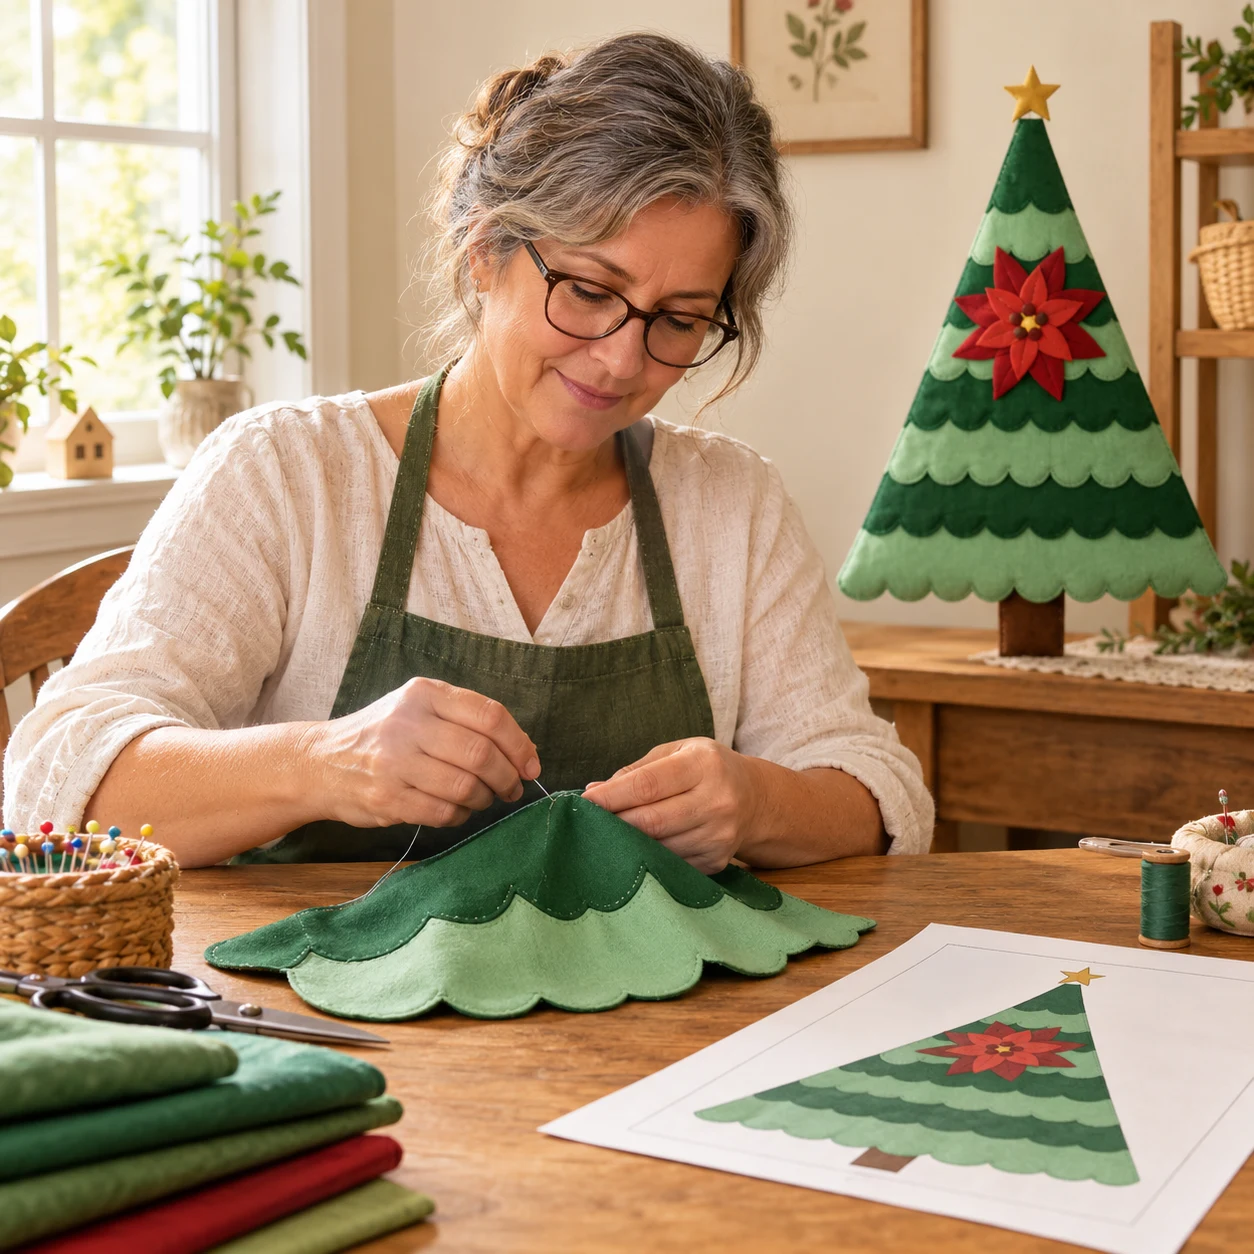
The best Christmas quilt pattern for a beginner is not the one with the prettiest photo; it is the one you will actually finish by the time the tree goes up. That usually means something small, something with large shapes, and something without a dozen seam intersections that have to meet perfectly.
A layered tree wall hanging fits that description. Here is why it works, what to look for in any beginner pattern, and what your first weekend with one looks like.
Why most "easy" Christmas quilts are not easy
Search for easy Christmas quilts and you will find a lot of pieced blocks: tiny triangles, rows of squares, stars and sashing. They look simple in a thumbnail. In practice, they ask for three skills at once: precise rotary cutting, a consistent quarter-inch seam and careful pressing. A pointed tree block has several seam intersections where a small error shows up straight away.
That is fine once you have a few quilts behind you. For a first project, it is the fastest way to end up with a pile of unfinished blocks and a bad feeling about quilting in general.
A beginner project should do the opposite. It should let you succeed on the first pass, and give you one skill to practice at a time.
What makes a Christmas pattern beginner-friendly
Look for these six things before you commit to a pattern.
- A small finished size. A wall hanging around 18 x 28 inches is a weekend project. A lap quilt is a month.
- Large, simple shapes. Fewer, bigger pieces mean fewer places to go wrong.
- Full-size templates. If the pattern asks you to draft your own shapes from a diagram, your first hour is math. Templates you print and cut remove that step.
- Instructions in order. Print, cut, lay out, stitch, quilt, bind, hang. Each step should be one page, not a paragraph hidden in a block diagram.
- A fabric list with real amounts, including backing, batting and binding, so you buy once.
- A way to check your print is the right scale. More on this below; it matters more than it sounds.
How a layered tree meets those six points
The Christmas Tree Wall Hanging Pattern from Pine & Thimble is built around exactly this. The tree is made of eight scalloped tiers, from a narrow top tier up to a wide bottom tier, stacked so each one overlaps the next. There are no pieced triangles and no seam points to match. The scalloped edges of each tier are stitched down to the layer beneath, and that stitching is also what quilts the piece, so you are not facing a separate, scary quilting session at the end.
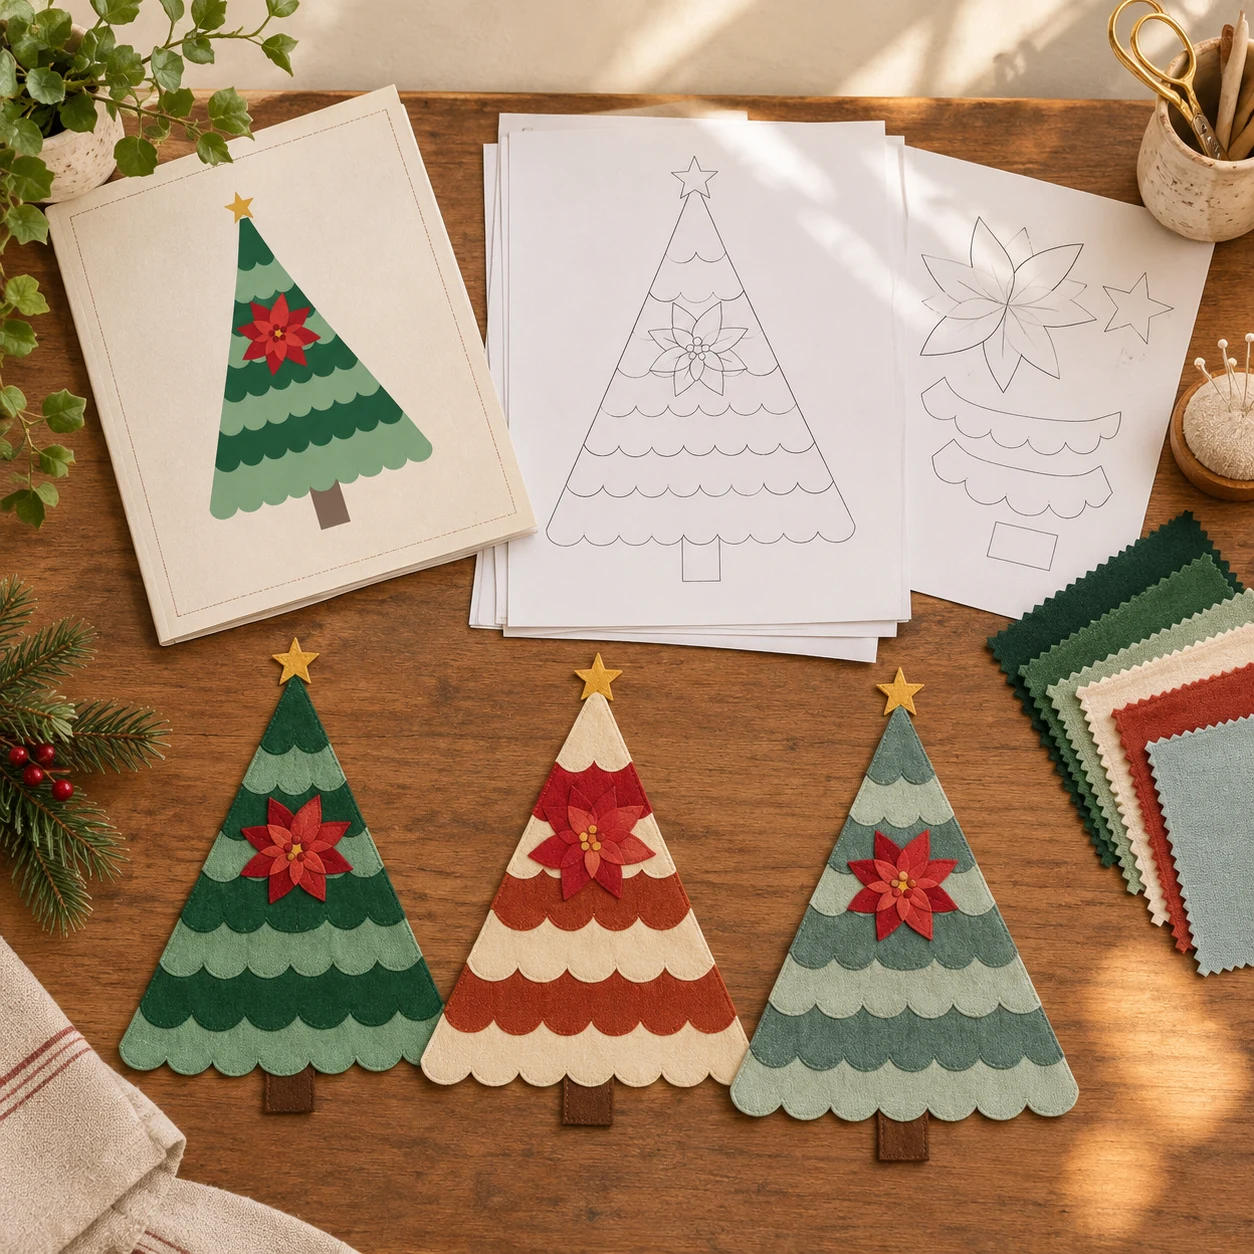
What you get:
- Two sizes. A full 18 x 28 inch tree and a mini at 9 x 14 inches, with its own templates. Many first-timers sew the mini first, to learn the sequence, then make the big one.
- Tiled templates for US Letter and A4. You print on a home printer and tape the pages together. Every page carries a 1-inch control square so you can confirm your printer did not shrink the file.
- Twelve pages of instructions and an assembly map that shows which template pages belong to which tier.
- Three colorways: Classic Evergreen, Cream and Rust Scrappy, and Frosted Spruce, so you are not stuck choosing fabrics from scratch.
- Three applique methods: raw-edge, turned-edge and fusible. You can pick whichever feels least intimidating, and change on the next project.
The pattern is made of schematic diagrams rather than step-by-step photos, which suits people who like clear drawings.
Your first weekend, step by step
Evening one: print and prepare (about an hour). Print the pages at Actual Size, never "Fit to page". Measure the 1-inch square on a page. Tape each tier's row of pages together following the assembly map and cut the templates out.
Evening two: cut. Choose a dark and a light fabric for alternating tiers. A quick tip from the Start Here guide: take a grayscale photo of your two fabrics on your phone. If they look nearly the same in black and white, the tiers will blur together on the wall. Cut the tiers, trunk, star and flower pieces.
Saturday: build the tree. Layer backing and batting, press a centerline, and set the trunk. Work from the bottom tier up, tucking each tier under the one above and stitching only its straight top edge first. Once the whole tree is in place, edgestitch each scalloped hem.
Sunday: flower, binding and hanging sleeve. Add the poinsettia, bind the shaped outline with bias strips, and sew on a hanging sleeve or ribbon loops.
By Sunday evening you have something that looks like it came from a craft fair, hanging in your hallway.
Which size should you start with?
If you are nervous, make the mini first. At 9 x 14 inches it uses a fraction of the fabric and teaches you the order of operations. The scallops and petals are smaller, though, so if small curved shapes are hard on your hands, the full-size tree can feel easier to handle.
A simple test: trace one petal from each template set onto paper and hold them. The one that feels comfortable is the size to start with.
Fabrics and supplies for the first one
For the full-size tree you need:
| Item | Amount |
|---|---|
| Dark tier fabric | 1 fat quarter (18 x 21 in) |
| Light tier fabric | 1 fat quarter (18 x 21 in) |
| Trunk, star, leaves, two petal reds | 1 fat eighth or a scrap of each |
| Backing and batting | 22 x 32 in each |
| Binding | 2.5 in bias strips, about 94 in in total |
| Optional | Lightweight paper-backed fusible web, about 1/2 yd |
Add a rotary cutter or scissors, pins or clips, thread and, if you like, a walking foot. The pattern includes a full materials and cutting table, and the Holiday Quilt Studio planner has a fabric calculator and colorway planner if you want to try combinations before you cut.
Three mistakes first-timers make (and how to skip them)
- Printing at the wrong scale. If the control square is not 1 inch, the templates will not fit together. Check before taping.
- Choosing two fabrics that are too close in value. Tiers will disappear into each other. Use the grayscale test.
- Cutting the binding on the straight grain. The shaped outline has scallops and stepped corners, so the pattern asks for bias strips that bend around curves.
Where to go from here
Once you have one tree on the wall, it is easy to keep going: change the fabrics for a scrappy version, learn more about applique methods, or compare it to other kinds of Christmas quilts to decide what to sew next.
If you want a project you can print tonight and start tomorrow, open the page for the Christmas Tree Wall Hanging Pattern and see the full contents.
This is a personal-use digital pattern. It is not for resale or sharing, and the sewing materials are not included.