Quilted Christmas Wall Hanging: Materials, Steps and Finishing
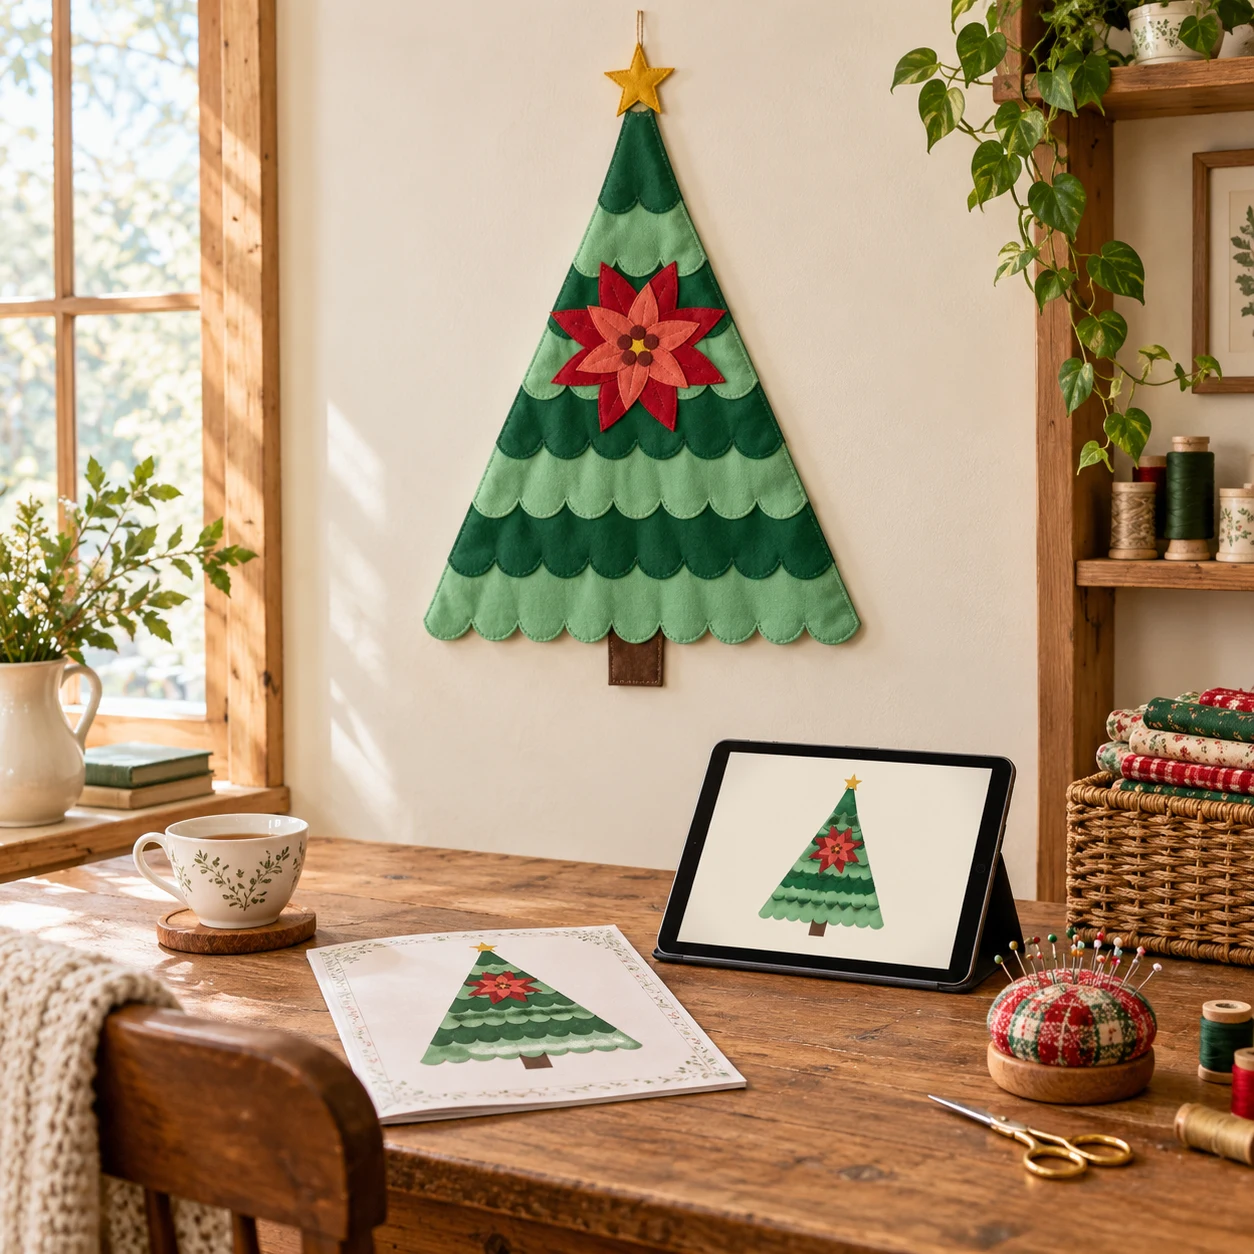
A quilted Christmas wall hanging is the project that looks the most finished for the least effort. One wall, one weekend, and a handmade tree that comes out every December. This guide walks through the full process for a layered tree hanging so you can see whether it suits you, what to buy and how each stage goes.
The steps below follow the Christmas Tree Wall Hanging Pattern from Pine & Thimble, a scalloped eight-tier tree with a poinsettia that finishes at 18 x 28 inches.
What you are making
The tree is built from eight overlapping scalloped tiers on a batting and backing foundation. A trunk sits at the base, an optional star tops the tree, and a layered poinsettia with six leaves, eight outer petals, six inner petals, a center and five berries sits on the middle tiers. Binding follows the whole outline, including the scallops, the trunk and the star.
Because it is built by layering, you do not piece blocks. You cut shapes from templates, position them, and stitch.
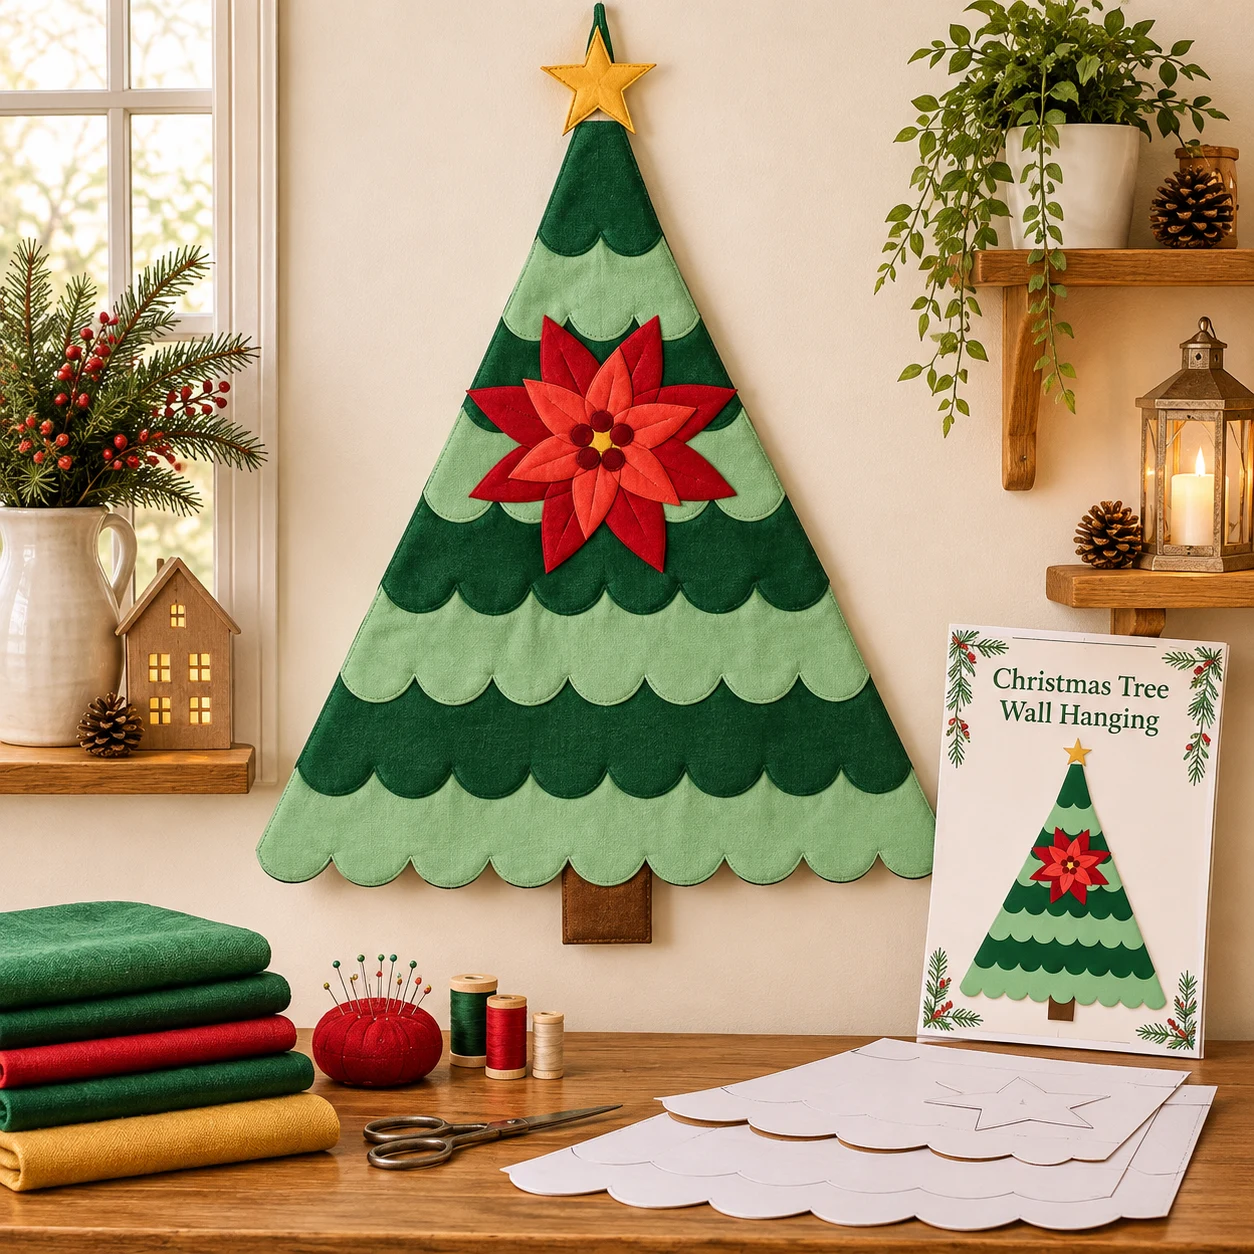
Materials for the full-size tree
| Item | Amount |
|---|---|
| Dark tier fabric (4 tiers) | 1 fat quarter, 18 x 21 in |
| Light tier fabric (4 tiers) | 1 fat quarter, 18 x 21 in |
| Trunk | 1 fat eighth or a scrap |
| Star and flower center (gold) | 1 fat eighth or a scrap |
| Leaves | 1 fat eighth or a scrap |
| Outer petals and berries (deep red) | 1 fat eighth or a scrap |
| Inner petals (bright red) | 1 fat eighth or a scrap |
| Backing | 22 x 32 in (about 7/8 yd of 42 in fabric) |
| Batting | 22 x 32 in, low loft |
| Binding | 2.5 in bias strips, about 94 in total |
| Optional fusible web | Lightweight, paper-backed, about 1/2 yd |
The backing and batting are the finished size plus four inches each way. They give you room to handle the piece, then you trim them to the tree shape. A single fat quarter cannot supply the backing, so plan that purchase separately. The yardage is worked out from the templates, so lay your fabrics over them before you head to the shop, especially if a print has direction.
Step 1: print, join and cut
Print the template pages at 100 percent, never "Fit to page". Each page has a 1-inch control square; measure it. Each tier is its own row of pages (A, B, C and so on). Trim the left margin on the dashed border, lay each page over its left neighbor, match the triangles and tape. Rows are never joined to each other.
Cut each tier template on the solid line, which includes the seam allowance (1/4 inch on tiers and trunk, 3/16 inch on small pieces). If you plan to use raw-edge or fusible, you will cut on the dashed line instead.
Step 2: build the foundation
Layer the backing wrong side up, then the batting. Baste with spray or pins at the corners. Fold the batting in half lengthwise and press a faint centerline, or mark one with a washable marker. The tree is centered on this line.
Step 3: lay the trunk and tiers
Place the trunk on the centerline with its bottom edge about an inch above the bottom of the working area. Set the lowest tier so its top edge hides the top of the trunk, and its scalloped hem faces down. Pin, then stitch only the straight top edge, 1/8 inch from the edge.
Move upward, one tier at a time. Each tier steps up by a set distance so a band of every tier remains visible. If you use the star, it goes behind the top tier before that tier is stitched.
Step 4: stitch the scallops
Once the whole tree is in place, edgestitch each scalloped hem 1/8 inch from the edge, starting at the bottom. Pivot with the needle down at each valley. Use matching or invisible thread.
By hand, a blanket stitch or slip stitch about 1/8 inch apart works well. The stitching passes through backing and batting, so you are quilting as you appliqué.
Step 5: add the poinsettia
Build the flower from the back forward: leaves first, then outer petals, then inner petals, the center and the berries. Choose raw-edge, turned-edge or fusible for the edges and use it for all pieces. For ideas about which approach to choose, see applique for a Christmas tree.
Step 6: quilt for texture
The tiers and petals are already stitched, so what remains is texture. Stitch along the petals and run a line down the center of each leaf for a vein. Use thread one shade darker than the fabric for a soft look. Press from the back and trim the batting and backing flush with the tree outline, leaving 1/4 inch for binding.
Step 7: bind the shaped edge
The tree outline is about 79.5 inches around, and the pattern adds 14 inches for joins, hence the 94 inches of binding. Cut 2.5-inch strips on the bias, join them with 45-degree seams and press in half lengthwise with wrong sides together.
- On scallops, ease the binding into each valley and stretch slightly on the curve.
- At stepped corners, stitch to 1/4 inch from the corner, pivot, and fold a miter.
- Around the star, stitch to each point, pivot and fold a miter. Clip the inner corners lightly.
- Fold the binding to the back and hand stitch with a blind stitch. Press well.
This is the slowest stage of the project, and the one that benefits from practice. Try it on a scrap sandwich first.
Step 8: add a sleeve or loops
For a rod, make a sleeve from a folded strip and sew it to the back before binding, then slip-stitch the folded edge by hand. For a hook, fold two ribbon or fabric loops 6 inches long and baste them into the binding at the neck of the star.
Choosing the size
The mini tree is 9 x 14 inches with its own templates, and it works well for a door or a shelf. The tree templates are scaled, but the small pieces get small: if you struggle with tiny curved shapes, choose the full size.
You can also read how this style compares to other wall hangings in Christmas tree wall hanging quilt patterns, and what a first-time sewer should know in Christmas quilt patterns for beginners.
What comes with the pattern
The PDF has 12 pages of instructions, an assembly map and tiled template pages: 15 for US Letter and 16 for A4. In total, it has 15 template shapes, 36 cut pieces, three colorways, and the mini templates. A Start Here guide and the Holiday Quilt Studio planner (fabric calculator, colorway planner and progress tracker) are included.
The pattern uses schematic diagrams, not photographs of each step.
This is a personal-use digital pattern. Sewing materials are not included.