Poinsettia Quilt Pattern: Build a Layered Applique Flower
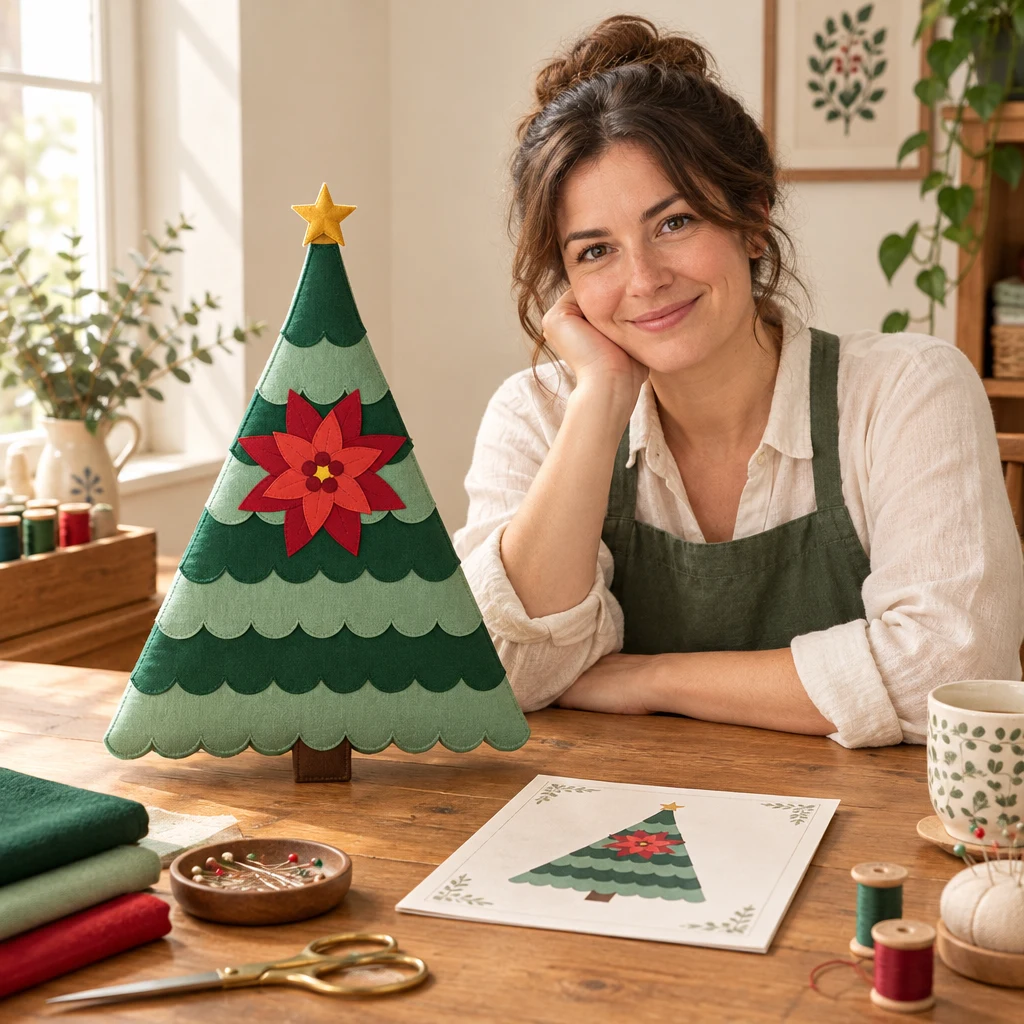
A poinsettia is what turns a scalloped green tree into something people stop and look at. The red layered flower sits at the center of the tree, and its two rings of petals, leaves and berries give the piece depth that flat fabric rarely has. It looks like a lot of work. Once you see how it breaks down, it is a calm evening of cutting and stitching.
This guide covers the poinsettia in the layered Christmas tree wall hanging from Pine & Thimble: what it is made of, which fabrics to choose, how to stitch it and where it goes.
The anatomy of the flower
The poinsettia has 26 pieces in four groups:
| Part | Quantity | Role |
|---|---|---|
| Leaves | 6 | Green base layer behind the petals |
| Outer petals | 8 | Deep red ring |
| Inner petals | 6 | Brighter red ring on top |
| Center | 1 | Gold accent |
| Berries | 5 | Dark red cluster in the center |
Pieces are cut from their own template sheet, which is separate from the eight tier templates. The full-size flower is sized for the 18 x 28 inch tree. The mini version of the pattern has a scaled set for the 9 x 14 inch tree.
Choosing the fabrics
A poinsettia is about value, not about exact color. You need clear steps between layers.
- Outer petals: a deep red, such as brick, wine or crimson. The same fabric covers the berries in the pattern.
- Inner petals: a brighter red, such as tomato or cherry. It must look lighter than the outer ring.
- Leaves: a green that contrasts with the tier behind. Green on green can vanish; if the tier is dark, pick a lighter leaf, and the other way round.
- Center: gold or warm cream. A little shine, such as a metallic print, catches the eye.
Test by taking a black and white photo of the stack. If the outer and inner reds look identical, change one.
Three palettes from the pattern
- Classic Evergreen: deep red outer petals, bright red inner petals, gold center, mid-green leaves.
- Cream and Rust Scrappy: rust outer petals, terracotta inner petals, a warm yellow center, olive-green leaves.
- Frosted Spruce: white outer petals, pale blue inner petals, gold center, teal leaves.
Fat eighths or scraps cover every flower fabric.
Pick your edge method
Choose one method for all 26 pieces.
- Fusible: trace each shape face down on the paper side of the web, using the dashed line. Fuse to the wrong side of the fabric, cut, peel and fuse in place. Finish with a satin or blanket stitch. This is the easiest way to keep small petals in position.
- Raw-edge: cut on the dashed line, pin, and stitch 1/8 inch inside the edge with a straight stitch or a narrow zigzag. The petals fray slightly, which looks soft.
- Turned-edge: cut on the solid line, press the allowance under on a freezer paper pattern and slip-stitch. Cleanest, slowest.
If you are new, see applique methods compared.
Label before you cut
With 26 pieces, a little organization pays off.
- Print the template sheet at 100 percent. Check the 1-inch control square.
- Cut the templates apart and label each one with its name and quantity.
- Note which pieces are cut as printed and which are reversed. The pattern uses "cut 3 plus 3 reversed" for paired shapes. For fusible, you trace face down, so the counts swap.
- Keep each shape in its own small bag or envelope.
Build order
Work from the back forward.
- Leaves go on first, fanned out under where the flower will sit.
- Outer petals go over the leaves in a ring.
- Inner petals go on top of the outer ring, offset so each petal tip lands between two outer petals.
- Center goes in the middle, covering the petals' inner ends.
- Berries go on top of the center in a cluster of five.
Pin or fuse everything, then check the arrangement from a few steps away before stitching. A flower that looks symmetrical at arm's length is correct.
Stitching and texture
Stitch the leaf veins along the dotted center line on each leaf, in a thread one shade darker than the leaf. Stitch in the ditch along the petals if you are using a straight stitch. Keep the star above unquilted or stitch only a small outline, so it stays crisp.
Where it goes on the tree
The flower is centered on the tree's middle tiers. Place the whole tree first, with the scallops stitched, and then place the poinsettia, so you can see the position against the tiers. Mark the centerline on the batting. Check that the outer petals sit symmetrically on both sides.
If you use the optional star, it goes behind the top tier before you stitch that tier. You can leave it out for a flower-only focal point.
How it fits into the whole project
The poinsettia is one stage of the Christmas Tree Wall Hanging Pattern: print and join templates, cut, build the foundation, lay trunk and tiers, stitch the scallops, add the flower, quilt for texture, bind the shaped edge and hang. The full steps are in how to make a quilted Christmas wall hanging.
If you like the flower more than the tree, take a look at other designs in Christmas applique patterns and compare.
A note on the instructions
The pattern uses schematic diagrams, not step-by-step photos, so the flower is shown as a layered drawing with each piece numbered. Print it, keep the page beside you and tick pieces as you place them.
This is a personal-use digital pattern. Sewing materials are not included.