Pamphlet Stitch Template: Print the Holes, Skip the Guesswork
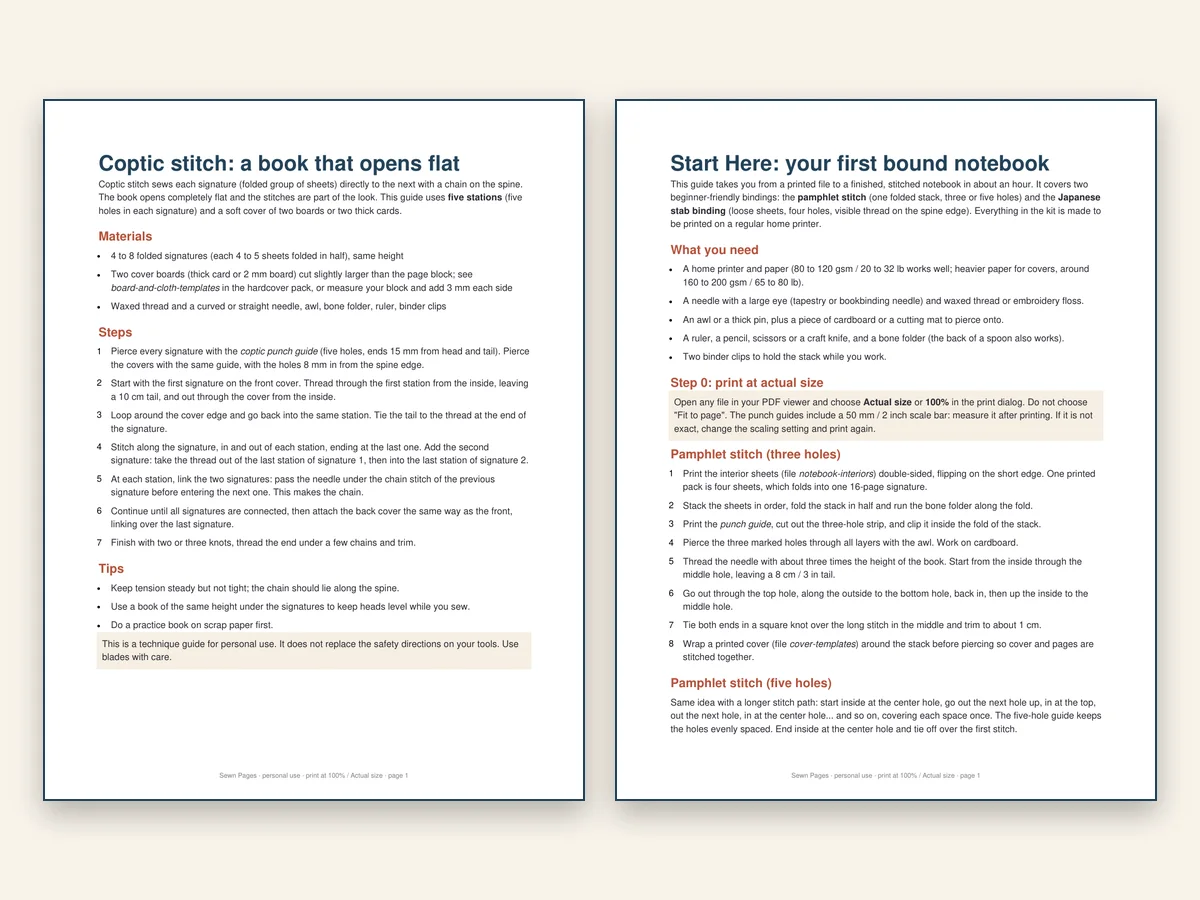
A pamphlet stitch template is a printed strip with the hole positions marked, which you clip into the fold of your pages and pierce through. It turns the hardest part of this binding, spacing the holes evenly along the spine, into something you follow rather than judge.
Pamphlet stitch is the friendliest way into bookbinding. You fold a stack of sheets in half, sew once along the fold and tie off. There is no glue, no press and no board. But the first one most people make looks a little wonky, and nearly always for the same reason: the holes were pierced by eye.
Why the holes decide everything
In a pamphlet stitch, the thread runs in and out of holes along the centre fold. If the holes are unevenly spaced, the stitches sit crooked. If one is off-centre, the thread pulls the fold sideways and the book will not close flat. If the end holes are too far from the head and tail of the spine, the corners flare.
A punch guide fixes all of that with printed marks. You are not measuring; you are following.
Three holes or five?
The kit includes both versions, and each is drawn for three book sizes: A5, A6 and Half-Letter.
Three holes is the classic. One in the centre, one near the head, one near the tail. It is quick, it is tidy, and on an A6 pocket notebook it looks exactly right. The thread path is simple: start inside at the centre, go out, along to one end, back through, then past the middle on the outside to the other end, and finish at the centre to tie.
Five holes is for larger books. On an A5 or Half-Letter notebook, three holes can leave the spine a little loose between stitches. Five holes spread the tension, so the book sits flatter and feels sturdier. It takes a few minutes longer and looks more deliberate.
A simple rule: A6, three holes. A5 and Half-Letter, five holes when you want a notebook you will carry around, three when it is a quick gift.
How to use the punch guide, step by step
- Print at actual size. In the print dialog choose 100 percent or "actual size", never "fit to page". The guides are drawn to scale, and scaling them defeats the purpose.
- Fold your sheets. Take the number of sheets you plan to use and fold them in half together. Run a bone folder along the fold to crease it firmly.
- Clip the guide inside. Open the stack and set the punch strip along the centre fold. Two clips, one near each end, keep it from sliding.
- Pierce each mark. With an awl or a thick pin, go through every layer at each mark. Work over a cutting mat or a folded magazine to protect the table.
- Sew. Cut a length of thread about three times the height of the spine. Follow the path in the Start Here guide, pull gently, tie a square knot over the long stitch and trim.
The most common mistake is piercing at an angle. Hold the awl straight up and down, and push rather than twist.
Choosing the right paper for the stack
Pamphlet stitch is happiest with a modest stack. For standard printer paper, somewhere around four to six folded sheets, which gives you eight to twelve leaves, is comfortable to pierce and sew. If you add a heavier cover wrapped around the outside, give yourself a slightly longer thread and a sharper awl.
The notebook interiors in the kit are laid out two-up, so they print double-sided and then fold into the stack. Eight sides of one style make a slim notebook; combine styles for a mixed one. A quick example: four sheets of dot grid and two of lined make a bullet-journal-style A6 you can pocket.
Three small decisions that change how it looks
Thread colour. Matching thread disappears into the cover. Contrasting thread turns the spine into a feature. If you are unsure, pick one of the colours in your decorative paper and the stitches will look planned.
Stitch on the inside or outside. The knot normally sits inside the centre fold, hidden. If you want the knot as a detail on the spine, start and finish on the outside and tie it there.
Waxed or unwaxed. Waxed thread slides through paper more smoothly and does not tangle. If yours is unwaxed, pull it across a small block of beeswax once or twice.
Fixing the usual problems
- The book will not close flat. The fold was not creased enough, or the thread is too tight. Loosen the stitches and press the book under something heavy overnight.
- Stitches look uneven. The holes were not straight. Next time clip the guide more firmly and pierce vertically.
- Pages tear at the holes. The paper is too thin for that stack, or the holes are too close to the edge. Use fewer sheets or a heavier paper.
- Cover wrinkles at the spine. Fold the cover first and crease it, then insert the stack. The cover template in the kit shows the fold lines for exactly this.
The Start Here guide in the kit runs through these as a short troubleshooting list so you do not need to search for answers mid-project.
What you can make with one evening
Pamphlet stitch is quick enough that you can turn out several books in a single sitting once you have the rhythm. A realistic evening is one tidy book to learn on, and two more because you will see how much faster they go. Sensible projects:
- A set of A6 pocket notebooks, one per person on a gift list.
- A Half-Letter recipe booklet for a friend, in squared or lined pages.
- A thin A5 sketchbook with a heavier cover paper.
- A handful of small journals for a workshop or a table at a market.
If you want to sell what you make, you may sell the physical books you bind with these files, but you may not share or resell the files themselves. For pricing, see the guide to selling handmade notebooks.
Where to go next
Pamphlet stitch is one way to bind a thin book. When you want a flatter spine and a more decorative look on a thicker notebook, move on to Japanese stab binding. For the full list of files you get with the kit, read the guide to printable bookbinding templates.
The point of a template is not to do the work for you. It is to make sure the first book you finish looks like you meant it, so you want to make the next one.