Printable Notebook Interior Pages for Your Handmade Books
Good printable notebook interiors are pages whose margins, fold and print order are already worked out, so a sheet printed on both sides folds into a stack and the writing sits where you want it. The ruling is the easy part. The layout is what saves the evening.
Almost any site will let you download a lined page. The trouble starts when you try to turn that page into a bound notebook. Page two lands upside down behind page one. The gutter swallows the first letter of every line. The margin is perfect for A4 and wrong for A5. A set of interiors made for bookbinding avoids all of that.
The four styles and who they are for
The Sewn Pages kit has thirty-two interior sides: eight each in four styles.
Lined. The classic. Choose it for journals, diaries, writing notebooks and anything that holds sentences.
Dot grid. The favourite of bullet journalers and sketchers. The dots guide lines and boxes without getting in the way when you write freehand.
Squared. For maths, diagrams, tables, planning and technical sketches.
Cornell notes. A page split into a cue column, a notes area and a summary band. Ideal for students and for anyone who takes meeting notes and wants to find them again.
Having four styles in one kit lets you make a notebook for every person on a gift list from one set of files.
What "two-up" means and why it matters
The interiors are laid out two-up for duplex printing. Each printed sheet carries two page images, one on each side, arranged so that when you fold the sheet in half, the pages follow in the right order and face the right way.
That sounds small, but it solves the problem that frustrates most first-time notebook makers: how to print on both sides of a sheet so everything reads correctly after folding. With the layout done, you print, fold and stack.
If your printer does not print double-sided automatically, print one side, load the sheets back following your printer's paper path and print the other. Always test with one scrap sheet and a mark in the corner to learn which way the paper flips.
Planning a notebook from the sheets
Eight sides of a style is one folded sheet pair, or a slim notebook on its own. For a fuller one, print more. A few combinations that work:
- Pocket notebook, A6: four folded sheets of dot grid. Light enough to carry in a back pocket.
- Everyday journal, A5: five sheets lined, one sheet squared at the back for lists.
- Student notebook, Half-Letter: a mix of Cornell notes and lined sheets, bound with a firm cover.
- Sketch and notes: half dot grid, half squared, in whatever order suits you.
Keep the stack to a comfortable thickness for your chosen binding. A thin stack sews easily as a pamphlet, and a loose stack can go in a stab binding.
Paper choices
Standard printer paper is fine for most uses, and it is the cheapest way to test a layout.
A heavier, smoother paper feels better under a pen and takes ink without much bleed. If you plan to use fountain pens or markers, test a corner first.
Cream or off-white gives a calmer, vintage feel, but check how your printer renders the grid on tinted paper.
Whatever you choose, use the same paper for the whole stack so the pages fold together and the book stays even.
Printing at actual size
Always select 100 percent or actual size. Fit-to-page can shrink the layout and push the margins away from where the punch guide expects them. If your print preview shows a scale other than 100 percent, fix it before you print.
Pairing interiors with punch guides
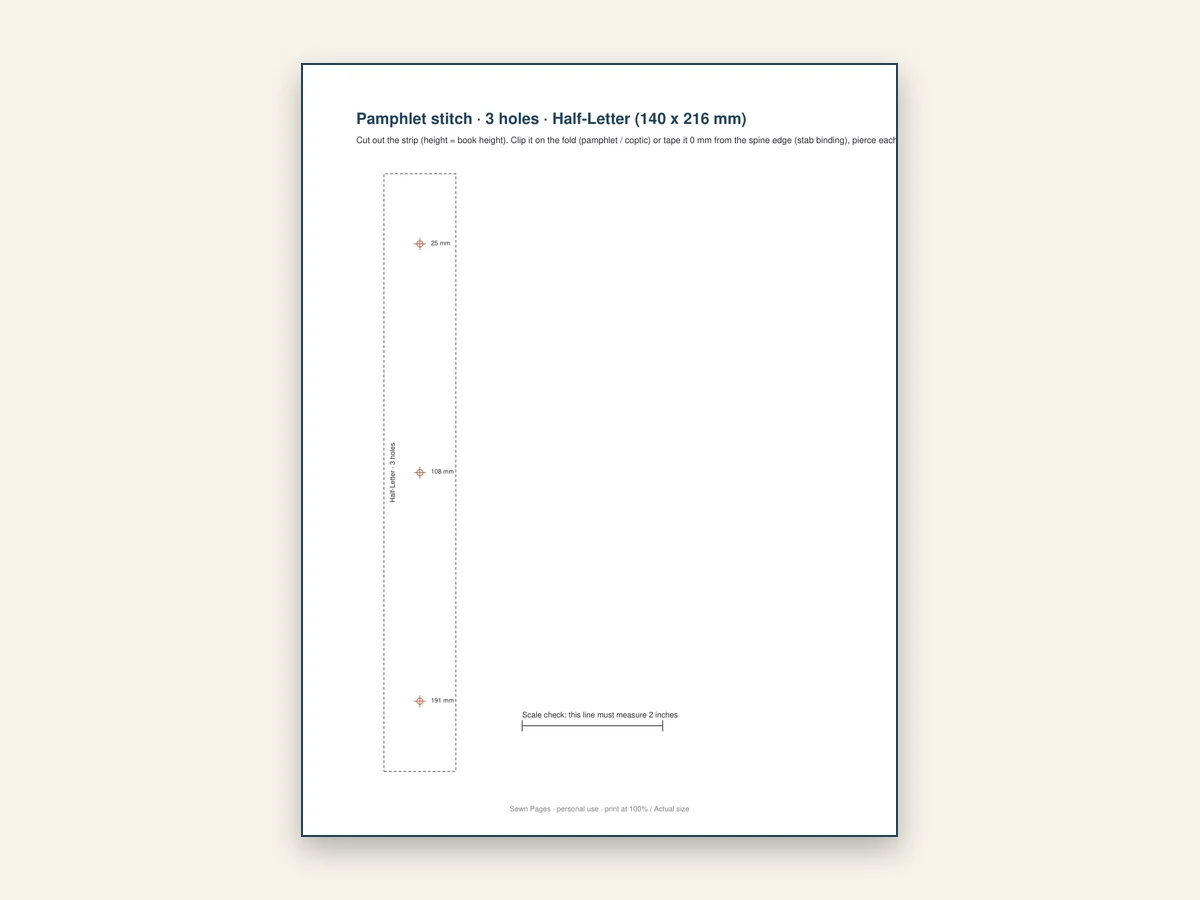
The punch guides are drawn for the same three book sizes as the interiors. That means your holes land in the margin area, never through the writing. When you fold the sheets, clip the guide in the fold and pierce, and the stitching sits where it should. The interiors and the punch guides are made as a pair.
Making notebooks people use
A notebook is only successful if it is used. A few touches help:
- Leave the first page open for a name. The kit's book plates are made for the inside cover, so the owner can claim the book.
- Match the page to the use. A budget notebook wants squares or lines; a sketchbook wants dots or blank.
- Think about the gutter. If you intend a lot of writing near the spine, choose a binding that opens flat, such as pamphlet stitch.
A realistic first project
Print four sheets of dot grid for an A5 notebook and two sheets of lined for the back. Fold them together, clip the 5-hole guide in the fold and pierce. Sew with a pamphlet stitch using a thread that matches the cover. Add a spine label. You have a notebook that handles notes and sketches, built from files you have printed in about twenty minutes.
If you want the sewing step explained in detail, read the pamphlet stitch template guide. For choosing sizes, the A5 notebook template guide compares A5, A6 and Half-Letter.
Common problems
- Pages out of order. Usually a duplex flip setting. Test with a scrap sheet.
- Text hidden in the fold. The page was scaled. Reprint at actual size.
- Ink shows through. The paper is too thin for your pen. Use a heavier paper or a finer pen.
- Uneven edges. Trim the finished book's foredge with a ruler and a sharp knife, working a little at a time.
Beyond the first book
Once you have bound a few, you will form opinions about page styles. Many makers end up with a favourite: dot grid for personal notebooks, Cornell for gifts to students. The kit gives you enough variety to find yours without buying more. For the full list of files, see the guide to bookbinding templates, and for covers to match, read printable notebook covers.
Good interiors are invisible. The pages open flat, the lines sit where the hand expects them, and the notebook simply feels right.
Choosing the right style for the user
If you cannot decide between styles, think about what the notebook will carry. Writers take lined pages, planners take dot grid, anyone who sketches or draws diagrams takes squared, and students or meeting-goers take Cornell notes. When in doubt, dot grid is the most forgiving: it guides without dictating, so one notebook can hold lists, drawings and paragraphs.
Trimming and tidying the finished stack
After sewing, the edges of a stack are rarely perfectly flush. A light trim along the foredge with a ruler and a sharp knife evens them. Take off a millimetre at a time and cut from the middle outward. A tidy edge is one of the details that makes a handmade book look professionally finished.