Printable Bookbinding Templates: What a Good Set Includes
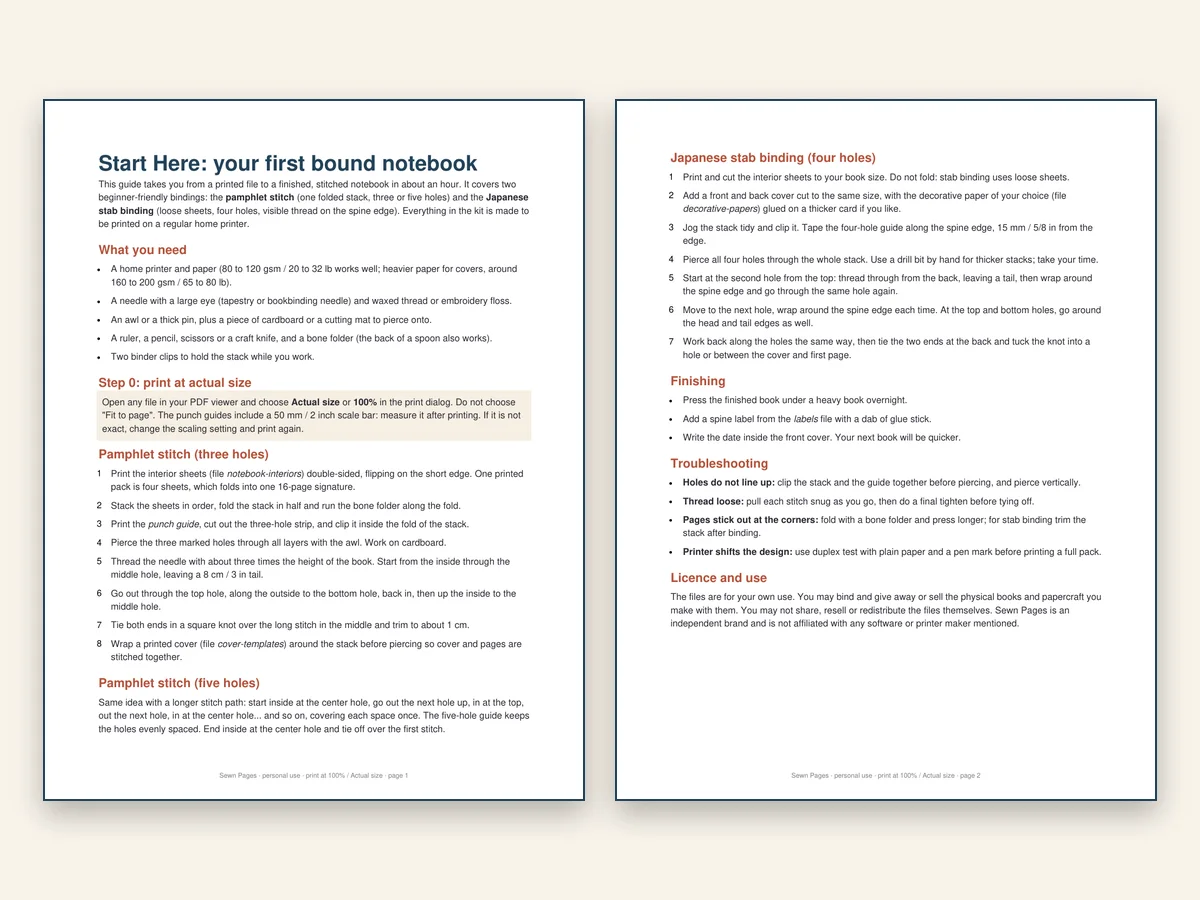
The best printable bookbinding templates remove guesswork from the three steps beginners get wrong: where to pierce, how wide to make the spine, and how to print pages that actually match the cover. If a set only gives you pretty paper, you still end up measuring by eye. If it gives you marks drawn at actual size, the book comes out neat the first time.
Most people searching for bookbinding templates are not looking for theory. They have watched a video, they own a needle and some thread, and they want something to print tonight. This guide explains what a complete set contains, how each file is used, and what to check before you pay for anything.
Why templates matter more than technique
A bookbinding video can show you a stitch in ninety seconds. What it cannot hand you is a sheet with the holes already marked at the right spacing for your page size. That is the gap templates fill.
Think about the last notebook you tried to make. The usual failure points are:
- Holes pierced by eye. The spine wanders, the stitches do not line up and the book will not close flat.
- Pages printed at the wrong scale. One checkbox in the print dialog and the interiors are a few millimetres off the cover.
- A cover that does not fit. Nobody tells you how wide the spine should be, so you guess and trim.
- A pile of tutorials and no files. You know the technique, but you still need something to print.
None of these is a hands problem. They are all missing-guide problems. A good template set solves each one with a printed mark.
The six things a complete set contains
1. A start-here guide
You want one short document that lists tools, walks through the first binding and covers what to do when something goes wrong. In the Sewn Pages kit the Start Here guide is two pages: tools, the pamphlet stitch, Japanese stab binding and troubleshooting. Short is a feature. A beginner does not need forty pages before piercing the first hole.
2. Punch guides
This is the file that changes results most. A punch guide is a strip or sheet that you clip onto the folded pages, then pierce through the marks with an awl. The kit has nine pages of them: pamphlet stitch with 3 holes and with 5 holes, and Japanese stab binding with 4 holes, each for A5, A6 and Half-Letter books. Pick the binding, pick the book size, clip, pierce. The spacing is already decided.
3. Cover templates
A cover flat shows the front, spine and back as one piece, with the fold lines and bleed drawn in. The kit includes nine cover flats, covering three book sizes at three spine widths, plus a spine guide that helps you match the width to the thickness of your stack. That removes the guess-and-trim step.
4. Decorative papers
Twelve full-page patterns that you print for covers and end papers. A plain notebook becomes a gift-looking one when you print a pattern on heavier paper and wrap it around the cover board or fold it as a soft cover.
5. Notebook interiors
Thirty-two sides in four styles: lined, dot grid, squared and Cornell notes. Eight sides each, laid out two-up so they print double-sided and fold into a stack. If you have ever tried to get page two to land behind page one, you will appreciate that the layout is already done.
6. Labels and tags
Twelve spine labels, twelve gift tags and twenty-four book plates on three pages. These are the small finishing touches that make a notebook feel complete, and they are the part people forget to plan.
How the pieces work together
The workflow is the same every time, and it has four steps: print at actual size, fold and clip, pierce the marks, then stitch and finish.
- Print the interiors and cover. Choose your paper size and book size. Print the interior sheets double-sided and a decorative paper for the cover.
- Fold and clip the stack. Fold the sheets in half, run a bone folder along the fold and clip the punch strip inside.
- Pierce each marked hole. The strip shows the exact positions for the binding you chose. Pierce through all layers with an awl.
- Stitch, tie and label. Follow the stitch path in the guide, tie off, then add a spine label from the label sheet.
The reason this works is that every file is drawn on the same grid. The punch guide, the cover flat and the interior are made for the same book size, so they agree with each other. That agreement is what you are paying for.
What to check before you buy any set
Actual-size printing. Open a sample page. If the file says nothing about scale, you will be fighting the print dialog. Look for a scale check or a clear note to print at 100 percent.
Both paper sizes. A4 and US Letter differ enough to ruin a template. A set that ships only one will not print cleanly on the other.
Book sizes you actually want. A5 is the classic notebook. A6 is pocket size. Half-Letter is the planner and journal standard in the United States. A set that covers all three saves you from rebuilding the layout.
A clear licence. If you plan to sell the notebooks, confirm the licence says so. Here, you may sell the physical books you bind; you may not redistribute the files.
A realistic promise. Be wary of any set that claims hundreds of templates and a lifetime of projects. A starter kit should be focused: the files you need to bind your first books, not a library you will never open.
What you can make with it
With one kit you can produce a whole run of useful objects without buying new files:
- A pocket A6 notebook with dot grid pages and a pattern cover.
- An A5 lined journal with a Japanese stab spine in a colour-matched thread.
- A Half-Letter squared notebook for sketching, sewn as a pamphlet.
- A handful of gift notebooks, each with a tag and a book plate on the inside cover.
Once the first one closes flat, the second takes half the time, because the only decision left is which paper and thread to use.
A short example evening
Say you want an A5 notebook with 5-hole pamphlet binding. You print eight sides of dot grid interiors, which fold into a small stack. You print a cover flat for A5 at the spine width that matches your stack, and a decorative paper to glue over it. You clip the 5-hole A5 punch guide into the fold, pierce, and stitch with waxed thread following the path in the guide. A spine label goes on last. That is the whole project, and every measurement came off a printed page.
If you want to see how a single binding behaves in detail, read the pamphlet stitch template guide or the guide to Japanese stab binding. If you are still deciding whether a kit is the right way in, start with the guide to a bookbinding starter kit.
The honest limits
Templates do not replace practice. Your first thread tension will be uneven, and a bone folder takes a few folds to feel natural. What templates do is take away the avoidable errors, so the only things left to improve are the things you actually enjoy improving.
Results depend on your tools, your paper and your practice. A set of files will not bind the book for you. It will, however, make sure that when you do, the holes are where they should be and the cover is the right size for the pages it covers. For a beginner, that is most of the battle.