A Bookbinding Starter Kit for Beginners: Print, Pierce, Stitch
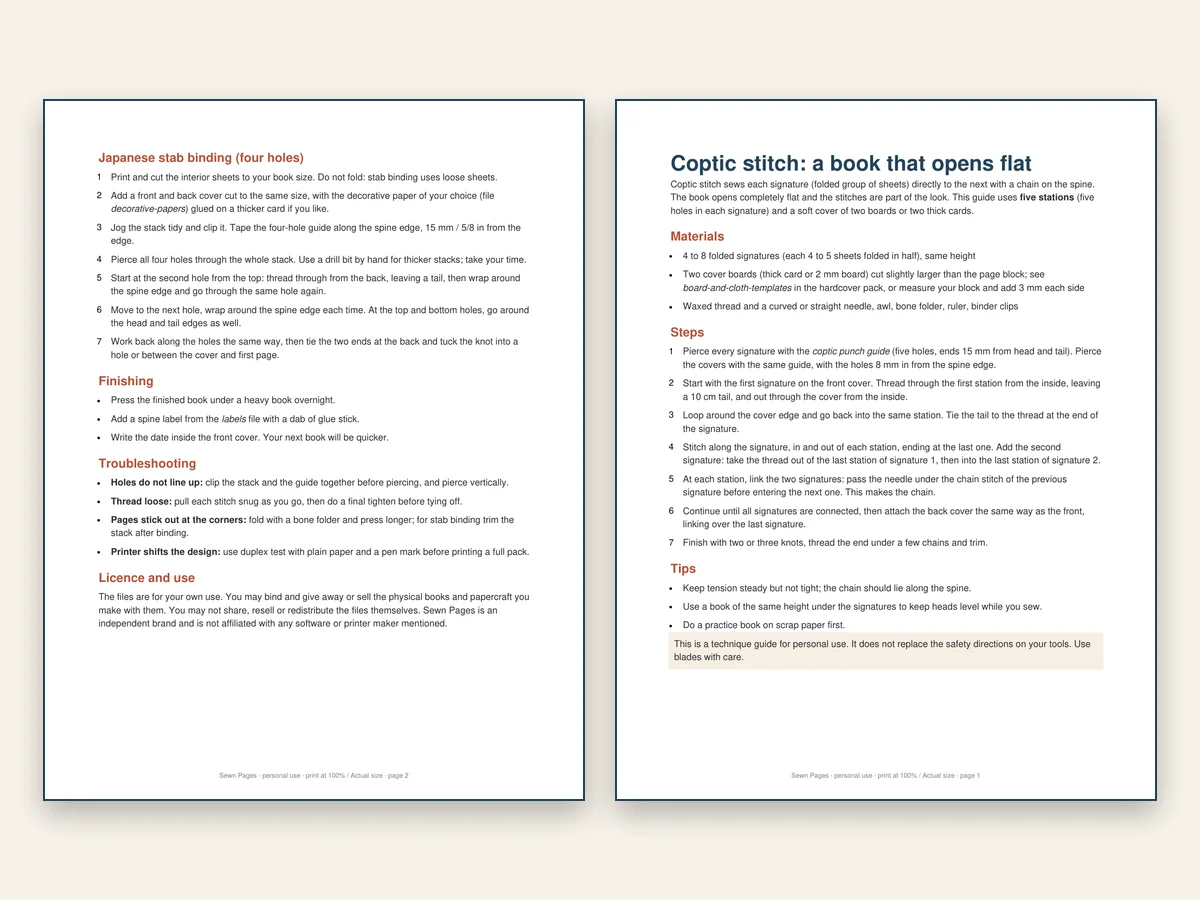
A good bookbinding starter kit gets you from an empty printer tray to a finished, sewn notebook in a single evening, and it does that by giving you printed guides rather than a bag of loose supplies. The tools are cheap and you probably own half of them. What a beginner lacks is the map.
If you search for a bookbinding kit, you will find two kinds. One is a box of physical supplies: bone folder, needles, thread, a few sheets of paper. The other is a set of printable files that tell you where to cut, fold and pierce. The second kind is the one that fixes the usual beginner problems, and it ships instantly.
What a beginner actually struggles with
Beginners do not usually fail at stitching. They fail at the things around it:
- Piercing holes by eye so the spine wanders.
- Printing pages that do not match the cover.
- Guessing the spine width and trimming until it fits.
- Following a video with nothing to print.
A starter kit built from printable files tackles each directly. That is the idea behind Sewn Pages: print it, pierce it, stitch it.
What is inside, file by file
The Sewn Pages Bookbinding Starter Kit is six PDF files, each in A4 and US Letter. That is 68 printable pages per paper size.
| File | Pages | What it does |
|---|---|---|
| Start Here guide | 2 | Tools, pamphlet stitch, Japanese stab binding, troubleshooting |
| Punch guides | 9 | Pamphlet 3 and 5 holes and stab 4 holes, for A5, A6 and Half-Letter |
| Cover templates | 10 | Nine cover flats at three spine widths plus a spine guide |
| Decorative papers | 12 | Twelve full-page patterns for covers and end papers |
| Notebook interiors | 32 | Lined, dot grid, squared and Cornell, eight sides each, 2-up |
| Labels | 3 | 12 spine labels, 12 gift tags, 24 book plates |
Books are drawn for A5, A6 and Half-Letter, the sizes most people actually want: desk notebook, pocket notebook and planner.
What you still need to buy
The files are the map. You supply the materials. A realistic shopping list:
- Paper. Normal printer paper for the interiors; a heavier paper or light card for covers.
- A needle with an eye large enough for your thread, and a blunt tip is fine.
- Thread. Waxed linen or strong embroidery thread. One reel makes many notebooks.
- An awl or a thick pin to pierce. A pin pushed into a cork also works at first.
- A ruler and scissors. A craft knife is useful for trimming.
- A bone folder to crease folds, though the back of a spoon will do in a pinch.
- Clips to hold the punch guide: small binder clips or clothes pegs.
The Start Here guide has the same checklist, so you can print it and tick items off.
Your first evening, step by step
- Pick the size and the binding. For a first book, A6 or A5 with pamphlet stitch.
- Print the interiors, double-sided, choosing a style. Fold them in half.
- Print a cover flat and a decorative paper. Score and fold the cover.
- Clip the punch guide into the fold and pierce each hole.
- Stitch following the guide, tie off, trim.
- Add a spine label from the label sheet.
If it goes well, the second book takes half the time. If it goes badly, the troubleshooting section tells you why.
Two bindings, and why they were chosen
The kit teaches two bindings because together they cover most needs.
Pamphlet stitch is a single fold and a single thread. It is the fastest route to a finished book and works for thin notebooks. See the pamphlet stitch template guide.
Japanese stab binding sews loose sheets along the side with a decorative pattern. It suits thicker notebooks and shows off the thread. See the Japanese stab binding template guide.
More advanced bindings, such as hardcover case binding and coptic stitch, are available as separate packs sold separately. You do not need them to start.
Is a printable kit better than a physical box?
Neither is better; they do different jobs. A physical box gives you tools. A printable kit gives you guidance. If you already own scissors, thread and a pin, the files are the missing part. If you own nothing, you will need to buy a few supplies, which together cost less than most physical kits.
Another advantage is that printable files can be used again and again. Print a new A6 cover whenever you want, in a new pattern, in the size you need. There is no running out of the one thing you needed more of.
What you can do with it afterwards
- Make notebooks for yourself in your size and colours.
- Give handmade books as presents, with a tag and a book plate.
- Bind a small run for a craft fair. You may sell the physical books you make with these files; you may not share or resell the files.
For help turning your hobby into a few sales, read how to price handmade notebooks.
Setting expectations
A kit will not make you a master binder. Your thread tension will be uneven for the first few books, and your folds will improve with practice. What it will do is give you a neat first notebook that closes flat, with a cover that fits. That first success is what keeps people going.
To see how the templates work as a whole, read what printable bookbinding templates include. Then print the Start Here guide, gather your tools and bind your first book tonight.
Questions beginners ask before they print
Will my home printer do? Almost any will. You need it to print at 100 percent and, ideally, double-sided. If it cannot duplex, you flip the sheets by hand after a test on scrap paper. A laser or an inkjet both work; inkjet colour on a cover prints richer on a matte, heavier stock.
How much paper will I waste? Very little. The interiors are laid out two-up, so each sheet carries what you need. Your only offcuts are from trimming covers. A first book plus a spare test sheet is roughly a dozen sheets in total.
What if I make a mistake? Print again. This is the big advantage over a physical kit: a wrongly pierced cover is a cheap error. Many people bind a throwaway practice book first, in plain paper, just to feel the thread path. Then they print their good cover and do it for real.
Do I have to learn both bindings? No. Start with pamphlet stitch and stay there until you are bored, then try stab. Many makers only ever use one and simply vary size, pattern and thread.
How long until it looks professional? Usually by the third or fourth book. The templates keep the holes and covers accurate from the start, so what improves with practice is thread tension, fold sharpness and your eye for pattern and colour.
A weekend plan
Saturday evening: print the Start Here guide, read it through, gather tools and bind one A6 pamphlet book for practice. Sunday: bind an A5 in a pattern you like and add a label and a plate. By Sunday night you have two finished notebooks, a tested workflow and a good idea of what you would like to make next.