Brick Stitch Earring Patterns: Pairs You Can Bead in One Sitting
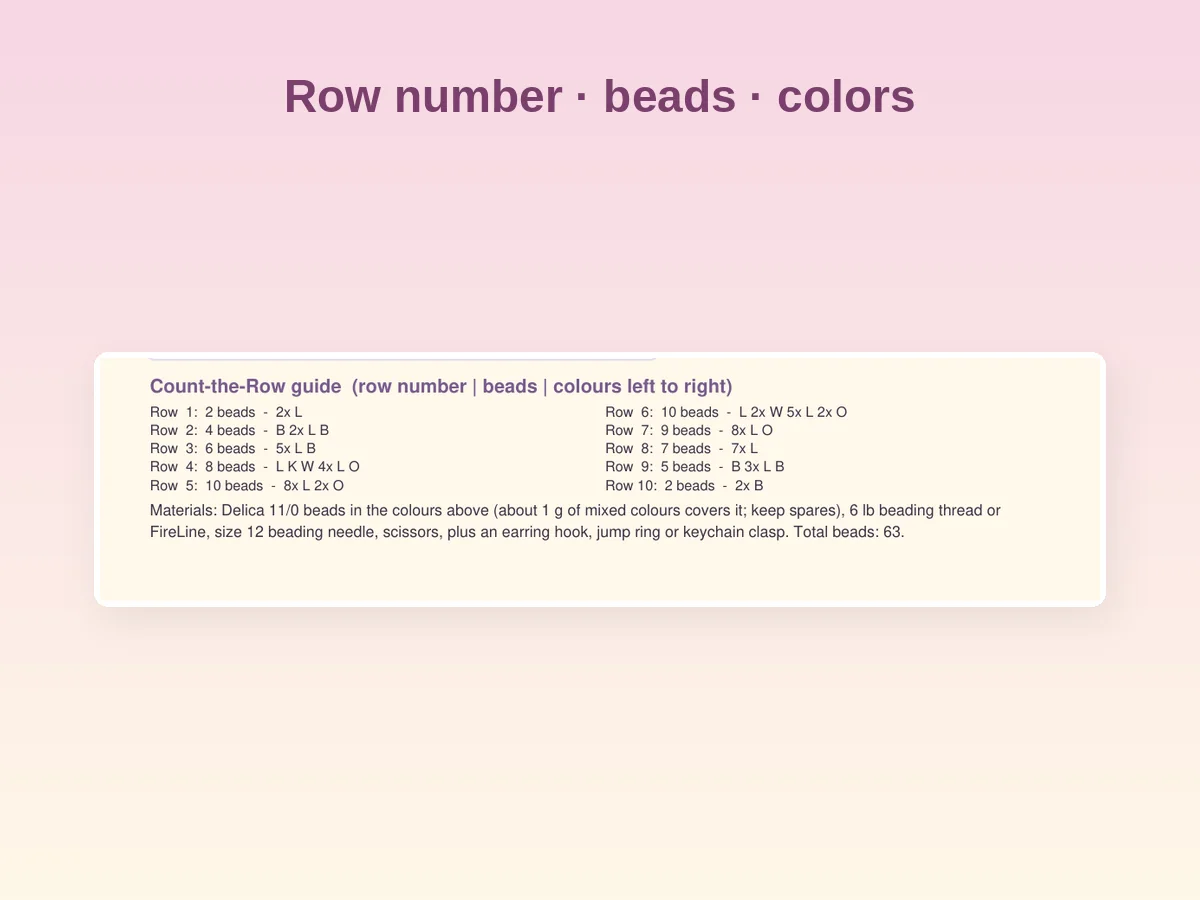
Brick stitch earrings are the best gift a beginner can bead: small, light, bright and made from a chart with counted rows. Two charms, two hooks, and a pair that took an evening can look like something from a craft fair.
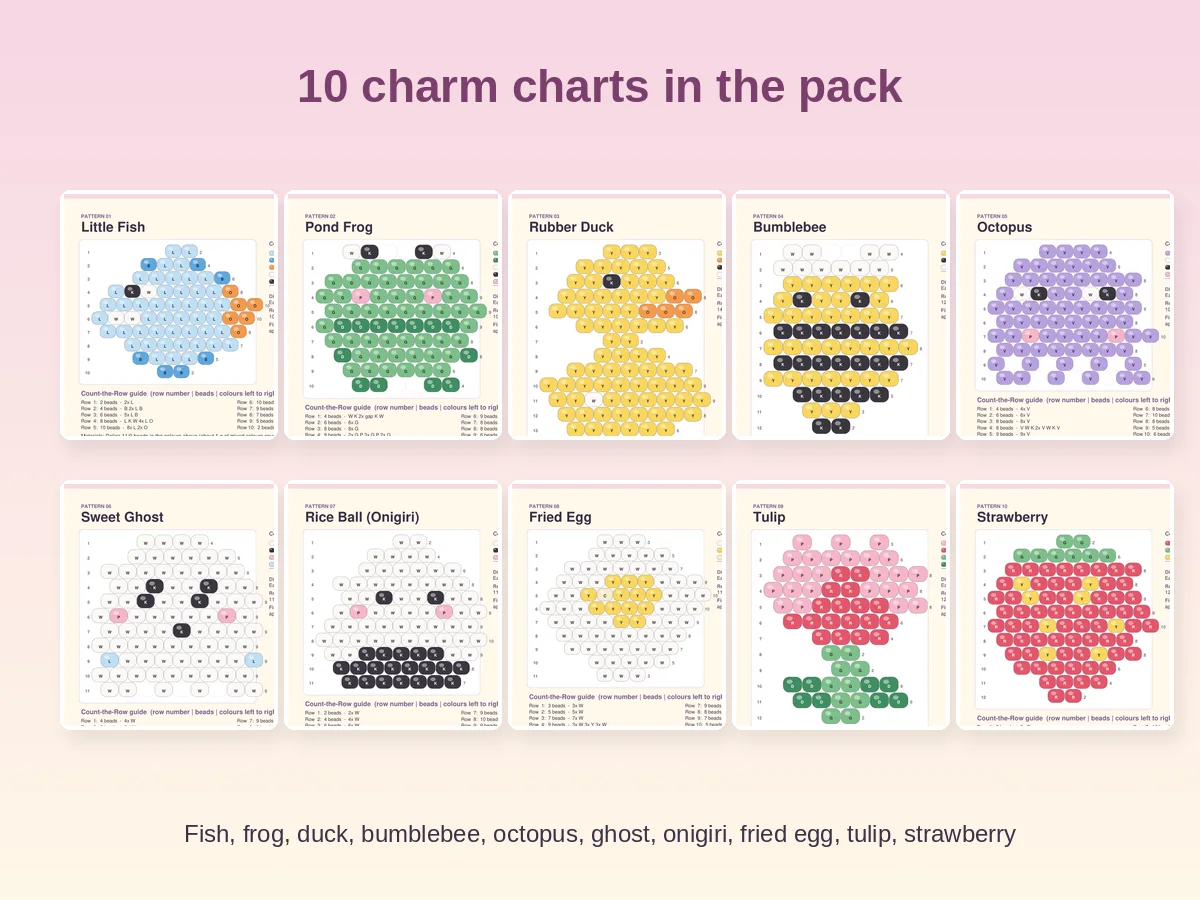
The ten charts in Tiny Bead Studio · Beaded Charm Starter Pack are all flat and small, so most work as earrings. Here is how to choose, match and finish them.
Which charts make good earrings
Earrings should be light, small and symmetrical enough to hang well. By bead count, the lightest in the pack are the Tulip (61 beads), the Little Fish (63), the Bumblebee (68) and the Pond Frog (71). The Octopus is 72, the Fried Egg 76, the Rice Ball and Strawberry 80, the Rubber Duck 85 and the Sweet Ghost 86.
All stay below 90 beads, and the widest row is 10 beads. In 11/0 Delica, that is the size of a fingertip.
Some pairings work especially well:
- Tulip earrings. Pink petals and green stems hang beautifully.
- Bee earrings. The yellow and black stripes read at once.
- Strawberry earrings. Red with yellow seeds, a classic.
- Odd pairs. A fish on one ear and a frog on the other.
Doubling the materials
A pair needs twice the beads. For the Little Fish (46 pale blue, 7 sky blue, 6 orange, 3 matte white, 1 charcoal), a pair is 92, 14, 12, 6 and 2. The chart gives the totals, so you can buy exactly what you need and add spares. Delica beads vary slightly in size from one bag to the next, so buy all colours from the same brand and, ideally, the same batch.
Making two the same
The failure of most handmade earrings is a mismatched pair. To prevent it:
- Bead both from the same dish. Colours look different in different light, but never in one dish.
- Make both at the same row. Do row 1 of earring A, then row 1 of earring B. Mistakes will be mirrored, and you will notice them.
- Check the count. The Count-the-Row guide gives the number of beads per row. If row 5 has 10 beads on one and 9 on the other, you know where to look.
- Face the right way. Decide which direction each animal looks. Fish and ducks face left on one ear and right on the other if you mirror the chart; for a simple pair, keep them facing the same way.
The finishing
On the top row, leave a 15 cm tail. Pick up 5 beads of the top row colour, pass through the same end bead to form a loop, and weave back down for strength. Open a jump ring sideways, slide on the loop and the hook, and close until the ends touch. Check that both earrings hang the same way.
Then secure the tail: weave through 3 or 4 rows in a zigzag, tie a half-hitch knot between beads, repeat, trim close.
The Start Here guide covers the basics of finishing as earrings. If you want longer instructions with hardware by size, the Earring & Keychain Finishing Guide is a separate add-on sold separately.
Colours that work on the ear
Earrings sit near the face, so colour matters. Some ideas:
- Soft palette for daily wear: pale blue, pink and cream.
- Bold for a party: red, black and yellow.
- Neutral: matte white and charcoal. The ghost and onigiri look great here.
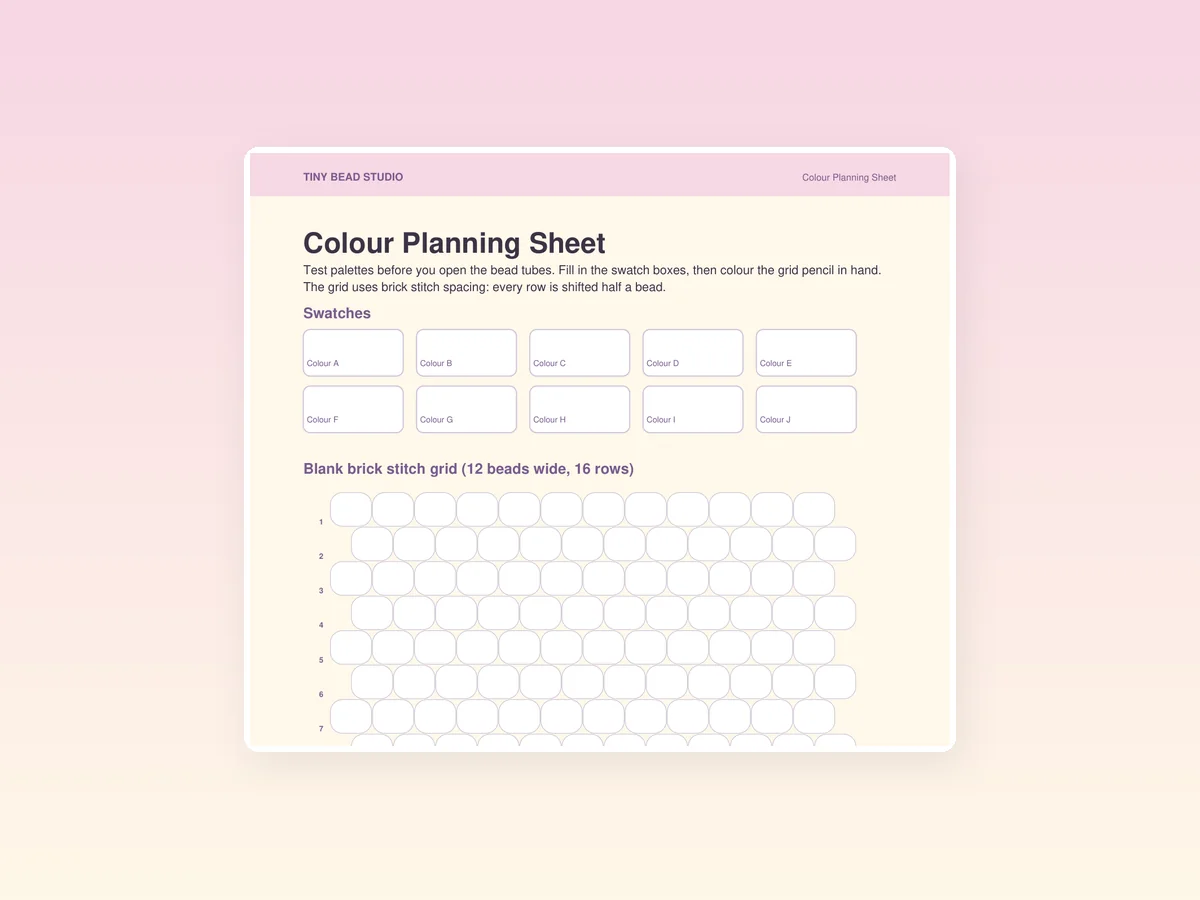
The planning sheet in the pack gives you blank grids to colour first. Print two copies, colour both and put them side by side.
Hooks, posts and sensitivity
If you sell or gift earrings, think about the metal. Hypoallergenic findings such as stainless steel or titanium are a safe choice; check before you give them to someone with sensitive ears. Choose hooks that suit the weight: for a small charm, a fine hook and a 4 to 5 mm jump ring is enough.
A timeline for your first pair
- Evening 1: first earring, slowly. Keep spares of each colour near.
- Evening 2: second earring, with the first beside it. This one goes faster.
- Evening 3: finish and attach hardware.
After a pair or two, most people bead earrings in a single evening.
Photographing and packaging a pair
If you plan to gift or sell your earrings, a clean photograph and a small card make the pair look finished. Lay the earrings on plain linen or paper in daylight beside a window, with the hooks pointing the same way. Write the name of the animal and the date on a small card and thread the hooks through it. It costs nothing and it changes how a handmade pair is received. Keep a record of what you used (bead colours and thread) on the back of your printed chart, so you can repeat the pair when someone asks for another.
If your first earring comes out wonky
It happens, and it is almost always a count problem, not a skill problem. Lay the earring next to the chart and compare it row by row against the Count-the-Row guide. Wherever the count goes wrong, unpick back to that row. A beading needle can be threaded backwards through beads to take the work out, and you can reuse the beads. Because every row has a stated count, finding the mistake takes a minute and not an evening.
Gifts and keeping
Earrings fit in an envelope. A pair with a note makes a personal gift, and the pattern gives you the whole set for the cost of beads you already own. For gifts, wrap each pair on a card and write what it is: tulips, bees, strawberries.
You can sell the physical earrings you bead; the PDF files are for personal use and may not be shared or resold.
What is in the pack
Ten flat brick stitch charts, a Start Here guide with ladder stitch, brick stitch, increases, decreases and finishing, and a colour planning sheet. Files come in A4 and US Letter. The pieces are charm sized, so they suit earrings, keychains and bag charms.
The result
A small, bright pair of earrings, made by you, from a chart that told you every row. If you have wanted to wear something you made, this is the quickest route.