DIY Felt Birthday Crown: The Print, Trace, Stitch Method
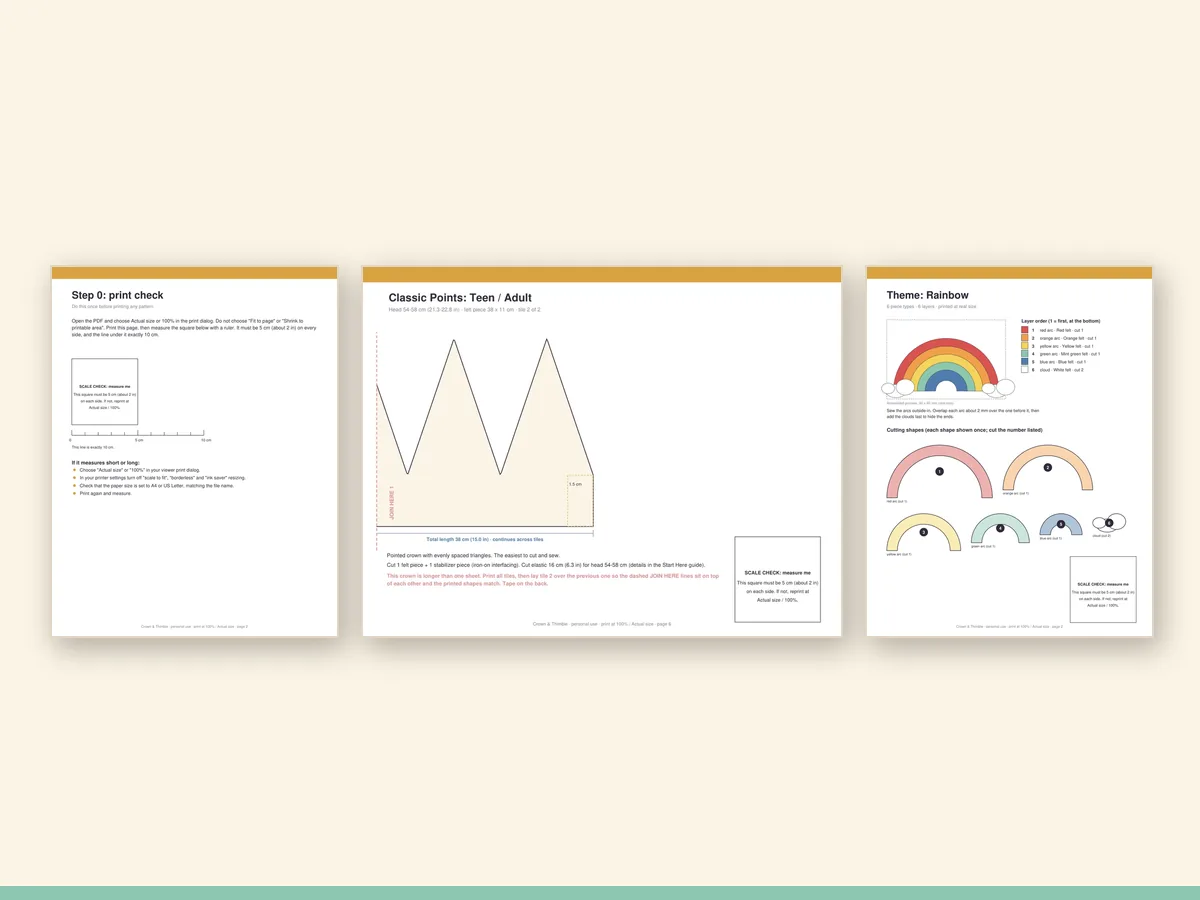
A DIY felt birthday crown looks like a sewing project and behaves like a craft one: soft materials, short seams, nothing that needs to be perfect to look lovely. What separates a crown that gets kept for years from one that ends up in the dress-up box with a bent point is the preparation. That is what the Print, Trace, Stitch method in Crown & Thimble · Felt Birthday Crown Pattern Kit is built around.
Why most first crowns go wrong
Ask a few parents about the first crown they made, and you hear the same four stories.
- "I guessed the measurements and it was too tight." Heads are bigger than you think, and a felt band does not stretch.
- "I drew my own pattern and the points were uneven." Freehand triangles are never quite the same height.
- "I printed a template and it came out small." A printer set to shrink to fit.
- "I put the pieces on in the wrong order." An appliqué is a stack, and the order matters.
None of that is a skill problem. All of it is a planning problem. Print, Trace, Stitch removes the planning.
Print: get the pieces at actual size
Everything starts with a clean print. The kit provides crown patterns in A4 and US Letter, each page with a 2 in / 5 cm square. Print the check page first, measure the square, and only then print the rest. If you want more detail, see the guide to printing at actual size.
Trace: move the shapes to felt
Choose your crown shape and size (see the size chart). Trace the band and front pieces on your base colour, then trace each appliqué piece on its own colour. Use a fabric marker, chalk pencil or a dry sliver of soap, and cut slightly inside the line so the marks disappear into the edge.
A practical tip: cut the biggest pieces first, then the smaller ones from the scraps. A crown is surprisingly economical on felt.
Stitch: appliqué first, then the crown
Always sew the appliqué to the flat front panel before you assemble the crown. It is much easier to stitch on a flat piece than on a curved band. Use the numbers on the pieces: 1 goes down first, then 2 over it, and so on.
For hand stitching, a whip stitch or a small running stitch around each edge is enough. For machine stitching, use a short straight stitch and sew about 2 mm from the edge of each piece. Either way, a matching thread blends in and a contrasting thread becomes part of the look.
After the appliqué, stitch the front to a lining layer, close the band, and slide in the elastic. The adjustable elastic band is what makes the crown fit now and next year.
What to buy
You do not need a craft store's worth of supplies. A basic list for one crown:
- One sheet of felt for the base colour (wool-blend if you can).
- Small offcuts or a second sheet in the appliqué colours.
- All-purpose thread to match.
- A hand-sewing needle with a sharp point.
- About 15 to 25 cm of flat elastic, depending on size.
- Sharp scissors and a fabric marker.
The kit includes a materials and shopping list with quantities for every size, so you are not guessing in the shop. The felt, thread and elastic themselves are not included.
A realistic timeline
| Step | Time |
|---|---|
| Print and check scale | 10 minutes |
| Trace and cut | 30-40 minutes |
| Appliqué | 45-60 minutes |
| Assemble the crown | 30 minutes |
| Fit the elastic | 10 minutes |
About three hours in total. Split across two evenings, it is easy to fit around a working week, and you can finish a day before the party rather than the night before.
Make it personal
Because the pattern is yours, you can adapt it. Some ideas that keep the structure and add personality:
- Swap the theme colours for the child's favourites. A Little Dino in purple is still a Little Dino.
- Stitch the child's age or initial in the centre. A matching set of numbers and letters is a separate pack (sold separately), and you can also cut your own from felt.
- Add a small ribbon bow to the back of the band.
- Embroider the date on the inside of the band so that the crown carries its own record.
See the guide to birthday crown themes for more directions.
Mistakes to avoid
Cutting the band too short. Measure the head first. The three sizes in the kit cover 44-58 cm (17-23 in) around the head, with an adjustable elastic band for the final fit.
Over-stuffing the appliqué stack. Felt is thick. Four layers is plenty. If a design needs more, cut the detail from a thinner colour.
Using stretchy knit "felt". Craft felt that stretches in one direction will pull the points out of shape. Choose felt that is firm in all directions.
Leaving the lining until last. If you want the crown to feel finished, treat the lining as a design decision. A contrasting colour on the inside is a lovely secret.
After the first one
The second crown takes about half the time. By the third you will be thinking about next year's theme. That is exactly what the kit is for: it is not a one-off tutorial, it is a pattern you can use again and again. If you want to know how to make the tradition part work, see the birthday tradition ideas.
A small budget, honestly
People assume handmade means expensive. A single crown uses a fraction of a sheet of felt, a short length of elastic and thread you probably already own. Even with wool-blend felt, the material for one crown is a small part of what a shop-bought party crown of comparable quality would cost, and the result is yours alone. If you are making crowns for a group, buy felt by the metre or in a pack of basic colours and cut the appliqué from the leftover pieces.
Where the time really goes
First-time makers expect the stitching to be the long part. In practice the long part is deciding: which theme, which colours, which number. Do that decision at the start, with the child if she is old enough, and the sewing becomes pleasant rather than anxious. Lay the felt colours side by side on the table, put the printed appliqué sheet beside them, and you can see the finished crown before you have cut anything. That small ritual is a big part of why people who make one crown go on to make many.