Beginner Bag Sewing Patterns: A Sensible Order to Learn In
The best first bag is the one you finish. A project that stalls halfway teaches you less than a simple one you complete in an afternoon. This list puts common bag shapes in a sensible order for someone new to sewing, explains what each teaches, and shows where a round bag fits, because it is closer to reach than most people think.
What makes a pattern beginner friendly
Before the list, the criteria. A beginner pattern should have:
- Pieces at actual size. You should not have to enlarge anything or draw a grid.
- Seam allowance included. One less thing to calculate.
- A cutting and yardage guide. You should know how much fabric to buy before you go to the shop.
- A tutorial with photos. Written instructions are hard to follow on an unfamiliar shape.
- Notches. They match pieces without measuring.
A pattern with those five things is friendlier than one that is merely short.
1. The drawstring pouch
Two rectangles, a casing and a cord. It teaches you to sew a straight seam, press, topstitch and thread a drawstring. It is nearly impossible to ruin, and you can finish it in an hour. Make one or two as gifts and you will understand how your machine behaves.
What you learn: straight seams, pressing, topstitching.
2. The flat tote
Rectangular body, two straps. This is the classic first bag. It teaches you to attach handles securely, which is the most important skill in bag making, since handles carry the weight. Use a medium-weight canvas and reinforce the strap ends with a box stitch.
What you learn: attaching straps, reinforcing stress points, hemming an opening.
3. The zipper pouch
A small lined pouch with a zip. A zip is intimidating until you do one. Use a pouch to practice, because the cost of a mistake is a few inches of fabric. Learning to sew a zip with a zipper foot opens the door to almost every other bag.
What you learn: zippers, lining, turning corners.
4. The bucket bag
The body is a cylinder with a flat base. Now you sew a circle into a tube. The curve here is the first real test of easing one piece into another. This is the bridge from straight lines to curves.
What you learn: inset circles, clipping, gathering a top.
5. The round bag with a cutout handle
Here is where many people expect a leap in difficulty, and often it is smaller than expected. A round bag is two circles, a lining and a handle opening. The curve is long and gentle, not a tight corner, and it is the same kind of curve you met on the bucket bag. What is different is the finish: turning a curve so it is smooth, and finishing the handle edge so it holds its shape.
That is a pattern problem more than a skill problem. A pattern that prints the notches and clip marks on every curve, and a tutorial that shows where to clip, turns an intimidating shape into a step-by-step job. That is how Ringstitch · The Halo Bag Sewing Pattern from Ringstitch is built: three sizes, the Clip-Curve notch guide, an illustrated tutorial and a cutting and yardage sheet.
What you learn: clipping curves, turning, finishing an opening, working with interfacing.
6. Structured and lined bags
Boxed corners, interior pockets, a magnetic snap. These are the next step once the round bag is done. A Lining and Pockets Add-On is available for the halo bag (sold separately) if you want to move toward that.
How to decide where to start
Ask three questions.
- Have I sewn a straight seam and pressed it? If not, begin with the pouch.
- Have I attached a strap or a zip? If yes, you are ready for curves.
- Do I have a bag I actually want? Motivation matters more than difficulty. A person who badly wants a round bag will push through the curve, and a person who sews a pouch they do not care about may not.
If you have sewn even a simple tote, the round bag is a reasonable next step.
Tools you actually need
- A sewing machine with a straight stitch.
- Fabric scissors or a rotary cutter.
- Pins or clips.
- A seam ripper, because you will use it.
- An iron and a pressing surface.
- A point turner or a chopstick.
- Interfacing.
A walking foot is nice for thick fabrics but not necessary.
Common first-bag mistakes
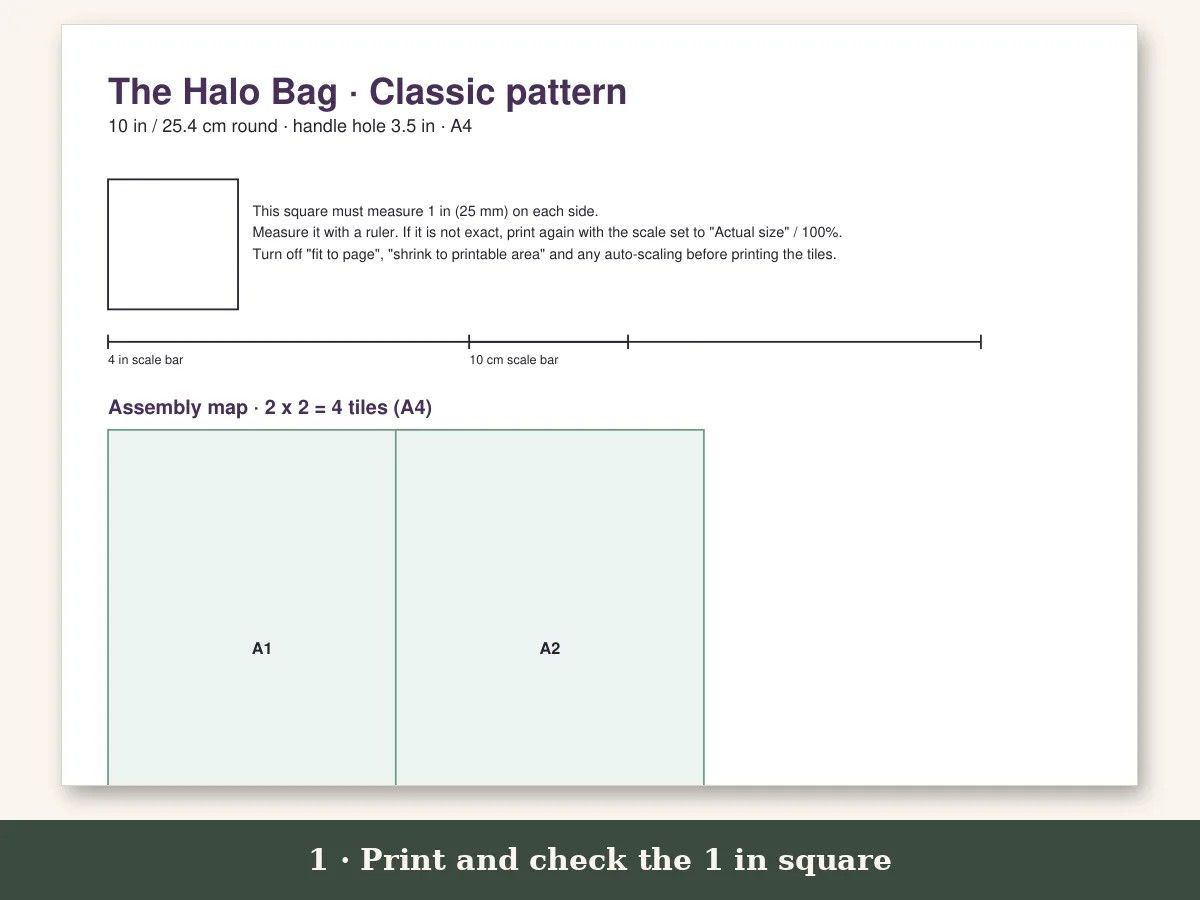
Cutting before checking the print scale. On a printed pattern, the 1 inch test square tells you if your printer shrank the pattern. Check it first.
Skipping interfacing. Floppy bags look homemade. Interfacing is the cheapest upgrade.
Rushing the curve. Slow down. A curve sewn at half speed looks twice as good.
Using fabric that is too thick. Layers pile up at seams and curves. Choose a medium weight until you are comfortable.
Your first project, finished
Pick the pattern that gets you the bag you want and plan an afternoon. If you have been wanting a round bag, you do not need to wait months to earn it. You need a pattern that explains the curve, and the patience to clip where the marks tell you.
How long each bag takes
Time is an honest way to compare. A drawstring pouch is about an hour. A flat tote with straps takes an evening. A zipper pouch is an evening too, partly because the zip makes you slow down. A bucket bag is most of an afternoon. A round bag with a cutout handle is an afternoon to a weekend, depending on size and how much you press and topstitch. Add time for printing and taping if you use the tiled files, or save it by taking the copy-shop file to a print shop.
A first-month plan
If you want a structured path, try this over four weekends. Week one, a drawstring pouch and a flat tote. Week two, a zipper pouch. Week three, a bucket bag or any bag with a circle inset. Week four, a Mini round bag, then the Classic. By the end you have made five or six useful things, learned the five core skills and have a handful of gifts. The Mini is a low-risk way to test the curve technique before you commit to a larger bag, since it needs only a small amount of fabric.
Choosing fabric as a beginner
Start with a stable woven. Quilting cotton and light canvas are the friendliest because they do not stretch or fray badly. Avoid slippery satins, stretchy knits and heavy upholstery fabric for a first bag. Iron your fabric before cutting, and buy a little extra so you can recut a piece if you need to. The cutting and yardage sheet that comes with the Halo Bag pattern lists amounts for each size, so you can plan the purchase.