Bag With a Cutout Handle: Pattern, Reinforcement and Finish
A cutout handle is the detail that makes a round bag look designed. There is no strap to buy, no hardware to attach, only a clean opening cut into the top of the bag. It is also the part that goes wrong most often: the opening stretches, the curve ripples, the handle sags after a few weeks of carrying. This guide explains why that happens and what to do about it, using the method built into Ringstitch · The Halo Bag Sewing Pattern from Ringstitch.
What a cutout handle actually is
On a bag with a cutout handle, the handle is part of the body. Two panels are sewn together around the outside and also around the opening. When you turn the bag right side out, the opening has a finished edge on both sides, and you carry it by hand through that slot.
That means the handle is a curve, and it is a curve under tension. Each time you lift the bag, the edge of the opening takes the weight. The fabric near that edge is cut on a bias at some points, and bias stretches. So a handle cutout is a structural job disguised as decoration.
Three reasons handles fail
No stabilizer. Lightweight cotton and linen have almost no body in the area around the opening. Without interfacing the edge stretches, and a smooth oval turns into a wavy one.
Skipped clipping. The inside edge of the opening is a concave curve. When you turn the seam, the fabric needs to spread, and without clips it pulls into folds. That is the pucker people complain about.
No topstitching. An edge that is only pressed will roll back toward the seam. A line of topstitching near the opening holds it in place and adds strength where it matters.
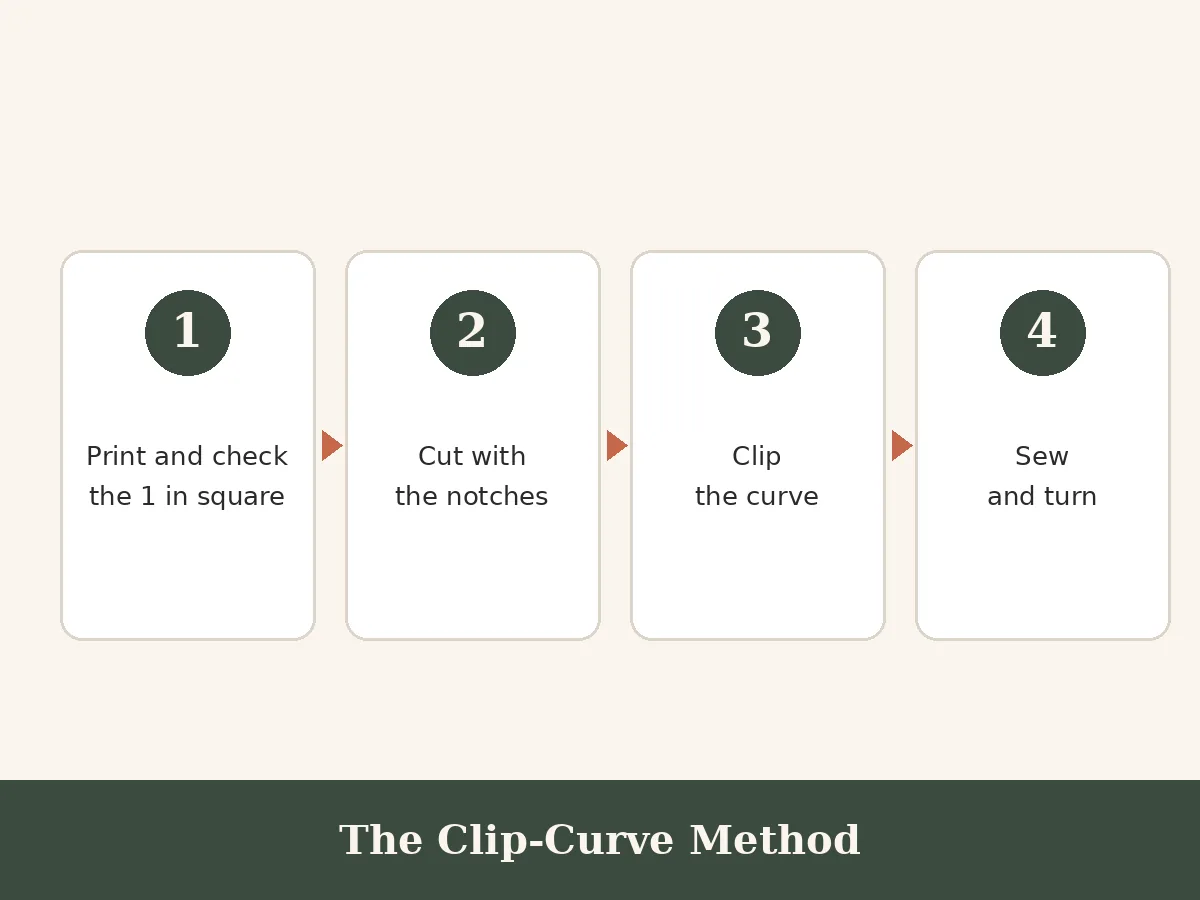
The Clip-Curve method for the handle
The pattern uses a short method for each of the curves, including the handle.
- Print and check the test square. The 1 inch square on the tiled sheet confirms the scale. A wrong scale makes the opening a different shape.
- Cut with the notches. The notches tell you where the opening begins and ends, so the two panels match at the handle edges.
- Interface the opening area. Place interfacing across the handle area of the outer panels. Cut it to the pattern piece without the seam allowance to reduce bulk.
- Sew the opening. Stitch around the opening on both panels with a shorter stitch length. Sew slowly through the curve and stop with the needle down when you need to adjust.
- Clip. Cut little snips into the seam allowance, up to but not through the stitching, at the marked points. Smaller snips on a tight curve, wider spacing on a gentle one.
- Turn and press. Turn through the bag opening, push the curve out with a point turner, and press from the lining side so the seam rolls slightly toward the lining and does not show.
- Topstitch. Edgestitch around the opening at a quarter inch or less to lock the shape.
The illustrated tutorial shows each of these steps with photos and the notch guide shows exactly where to place the clips on each size.
Which fabrics suit a cutout handle
Medium-weight canvas, corduroy, denim and heavier linen are forgiving. Quilting cotton works if you interface it well. Very stretchy knits are a poor choice because the opening distorts. Velvet and faux fur are possible, but you need a stable interfacing and patience. For the lining, a fabric of similar weight is better than a very thin one, because it supports the opening from the inside.
Reinforcing for heavy loads
If you expect the bag to carry a lot, such as in the Tote size, two additions help. First, add a second layer of interfacing around the opening. Second, bar-tack or add a small stitch rectangle at the base corners of the opening where the stress concentrates. These are small details, and they stop a bag from tearing at the weak points.
If you want more support than a cutout can give, you can add a shoulder strap to the sides. A guide to fabric straps and hardware is available as a separate add-on (sold separately), and the pattern also works well without one.
What a good handle looks like
When it is right, the opening is a smooth, even oval with a crisp edge. It holds its shape when the bag is empty and when it is full. The seam is invisible from outside. If you press the bag flat and run a finger around the opening you feel no ripples and no stiff lumps.
If your first attempt is not perfect, it is almost always one of the three problems above, and each has a simple fix.
Practice on the Mini
The Mini size is the cheapest way to practice a handle. It uses little fabric, and you will see in an hour whether your clipping and turning work. Then make the Classic or the Tote with confidence.
A pattern that shows the handle and not just the photo
A common frustration with round bag listings is that they show a lovely finished handle and give you no way to make one. The printable pattern here includes the handle opening in the pieces, with notches, seam allowance and clip marks, and a tutorial that explains the reinforcement. You do not have to draw the opening yourself or guess its radius.
If you have been saving a photo of a cutout-handle bag, this is how to make it.
Common questions while you sew
Do I cut the opening before or after sewing? With this pattern the opening is part of the pieces, so it is cut with the panels. Cutting after sewing tends to give a ragged edge and no way to clip properly.
Do I sew the lining and outer together at the opening? Yes, right sides together, so that after turning the seam sits at the edge. That is why the edge needs clipping and pressing before you topstitch.
What stitch length for the curve? A slightly shorter stitch than your straight seams, such as 2.0 to 2.5 mm. The shorter stitches follow the curve more accurately and are easier to clip next to.
Can I make the handle bigger or smaller? You can, but do it in the pattern, not on the fabric. Changing the handle radius changes the notches, and the clip guide is built for the original. For a different carry length, add a strap instead.
How do I stop the lining from showing? Press the seam so it rolls slightly toward the lining side, and understitch if you can reach. Understitching is a line of stitching on the lining, close to the seam, that holds the seam allowances flat. On a tight curve, even a few stitches help.
Tools that make the handle easier
A point turner for pushing the curve out, a clapper or a firm ham to press a rounded edge, clips instead of pins so the layers do not bunch, and a fresh needle for smooth stitching on interfaced layers. None of these is a big purchase, and each removes a small annoyance from the part of the bag you will look at the most.