Felt Appliqué Numbers Template: Put the Age on the Crown
The age on a birthday crown is the detail people photograph first. A felt number at the centre of the front panel turns a pretty crown into a record of one particular year. It is also one of the easiest appliqués to get wrong, because a number has to be legible, level and centred. This guide covers how to do it well.
Why a number needs its own template
Letters and numbers are unforgiving shapes. A circle that is slightly off still looks like a circle, but a 3 with uneven curves looks like a mistake. A lopsided 5 looks like an S. Hand-drawing numbers freehand on felt is a path to frustration, and the felt is not cheap to waste.
A template solves this by giving you consistent shapes at a known size. You print the number, trace it, cut it. The shape is the same every time, so a 2 this year and a 3 next year look like part of the same family.
Choose the size and position
Before you cut, work out how big the number should be.
| Crown size | Number height | Position |
|---|---|---|
| Baby 0-2 | 3-4 cm (about 1.25-1.5 in) | Centred on the front panel |
| Kid 3-8 | 4-6 cm (about 1.5-2.5 in) | Centred, slightly above the midline |
| Teen/Adult | 5-7 cm (about 2-2.75 in) | Centred, or offset for two digits |
For a two-digit number such as 10 or 40, reduce each digit by about a fifth and leave a gap of about the width of a finger between them. Lay them out on the front panel before you stitch anything and check the balance.
Single-layer, double-layer or three-layer
A number can be a flat felt shape, or it can have layers.
Single layer. One felt number stitched directly to the front. Clean and quick. Choose a colour that contrasts strongly with the base, for example white on navy or gold on cream.
Double layer. A slightly larger shape in a second colour sits behind the number, creating a border or shadow. This is the classic birthday crown look and it makes the number pop.
Three layer. A border, a number, and a small detail such as a star or dot on top. The numbered-layer approach used in the themed appliqués applies here too: number each piece before you cut so the stack goes together in order.
Cutting felt numbers cleanly
Felt is forgiving but needs sharp scissors. A few tips:
- Cut the outer outline first, then the inside counters (the holes in 0, 4, 6, 8 and 9) with a small pointed blade or by folding the felt and snipping a start hole.
- Turn the felt rather than the scissors around curves.
- Cut a little inside the traced line so the marker disappears.
- If the felt is very soft, back it with a light fusible web or a thin interfacing before you cut. It stiffens the felt and prevents stretching.
Stitching the number
Pin the number in place, or hold it with a dab of fabric glue. Stitch with small whip stitches around the edge, pulling each stitch only snug. For a more decorative look, use a blanket stitch in a contrasting embroidery floss; it frames the number and hides tiny cutting irregularities.
On the insides of 0, 4, 6, 8 and 9, add a few tiny stitches too, so that the centre does not lift.
Combining a number with a theme
A number and a theme work together if you give them separate jobs. Let the number be the hero and the theme the frame.
- Rainbow: put the number under the arc, as if it hangs from a cloud.
- Little Dino: set the number on the dinosaur's back or beside its feet.
- Wildflower: place the number between two flowers, or make the stems frame it.
- Under the Sea: let a fish swim above the number, with waves below.
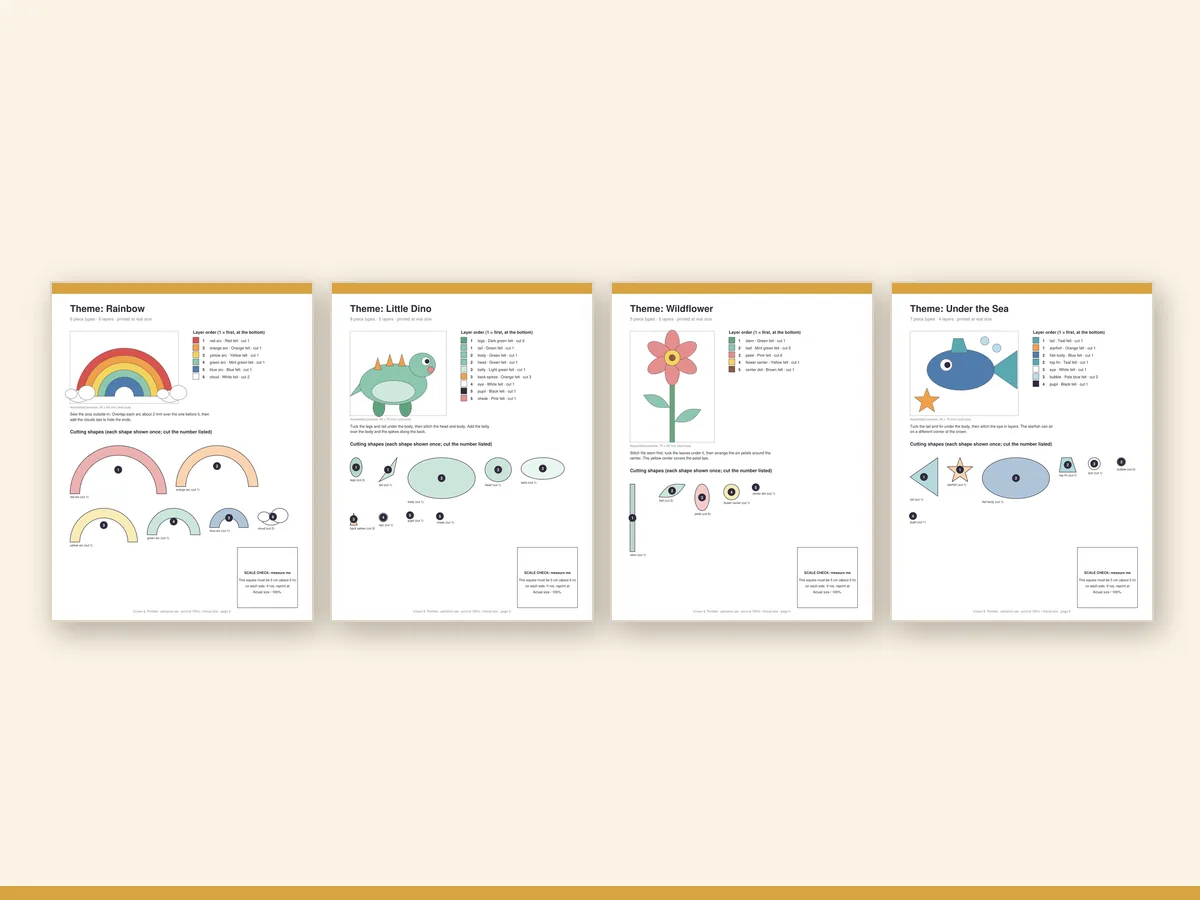
The four themes in Crown & Thimble · Felt Birthday Crown Pattern Kit are described in the themes guide, and the number sits in whatever room the theme leaves. Often the simplest solution is to use a smaller version of the theme and reserve the centre for the age.
Initials and names
Single letters work the same way as numbers. An initial on the front is a classic keepsake and works for adults too. For a full name, a crown is too small; choose a banner or a lining embroidered on the inside of the band instead.
Getting the numbers and letters
The Numbers & Initials Appliqué Pack is a separate download, sold separately from the crown kit. It has numbers 0-9 and letters A-Z, printed at actual size with a scale-check square. If you only need one age, you can also cut a block number from felt yourself. The pattern pack simply saves you the drawing and gives you consistent, matched shapes across years.
A year-by-year idea
Keep the same crown shape and appliqué layout every year, and change only the number and the colours. Take a photo of the child in the crown each birthday, from the same spot, and in a few years you will have a sequence that tells the story of their growth. The numbers do the labelling for you.
For a guide to turning this into a ritual, see birthday tradition ideas for kids. For crowns for older makers, see the adult birthday crown pattern guide.
In short
Print the numbers at actual size, trace and cut cleanly, choose a strong contrast, and stitch with small, even stitches. The result is a crown that says exactly how old someone is today, and you can read it from across the room.
Common mistakes with felt numbers
Making the number too small. On a crown, small numbers disappear in photographs. If in doubt, go a size up; the front panel can take it.
Choosing low contrast. Cream on white or navy on black reads as a shadow, not a number. Pick colours at least two steps apart.
Cutting the counters last and tearing the felt. Cut the inner holes first while the felt is still a stable rectangle, then trim the outline.
Forgetting the mirror. If you trace a number from the back of a printed sheet, it will be reversed. Always trace from the front of the print, with the printed side up.